I have a love hate relationship with the woodytoo. She has been an awesome “fish raiser” really reliable, and really safe, but also has her quirks, and I have spent a crazy amount of time maintaining her. Thing to remember, she is a 2002 Hull, and has spent it’s entire life in salt water, high humidity and full sun. This year, I have had the opportunity to spend a lot of time on her working with the the tower install and rigging. Last time I posted boat progress it showed controls and cable installs, now it is wiring and electronics.
I will start with the love part …..
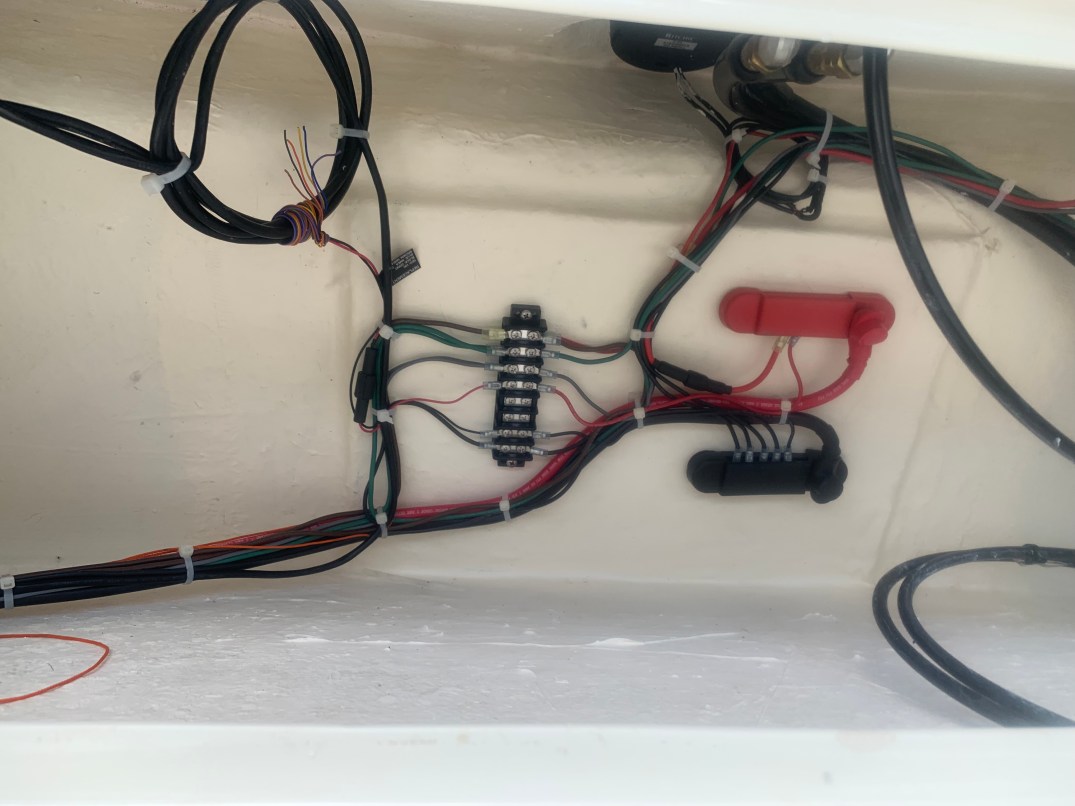
I figured I need 10amps worth of power up in the tower if I consider a gps, vhf, horn, lights and accessories. Measuring distance to the battery switch showed I needed awg 2 wire to carry that load, which is pretty much battery cable. Add in terminal blocks, hook up wire, connectors, gps cables and tools to deal with heavy electrical cables etc, it turned into quite the amazon order.
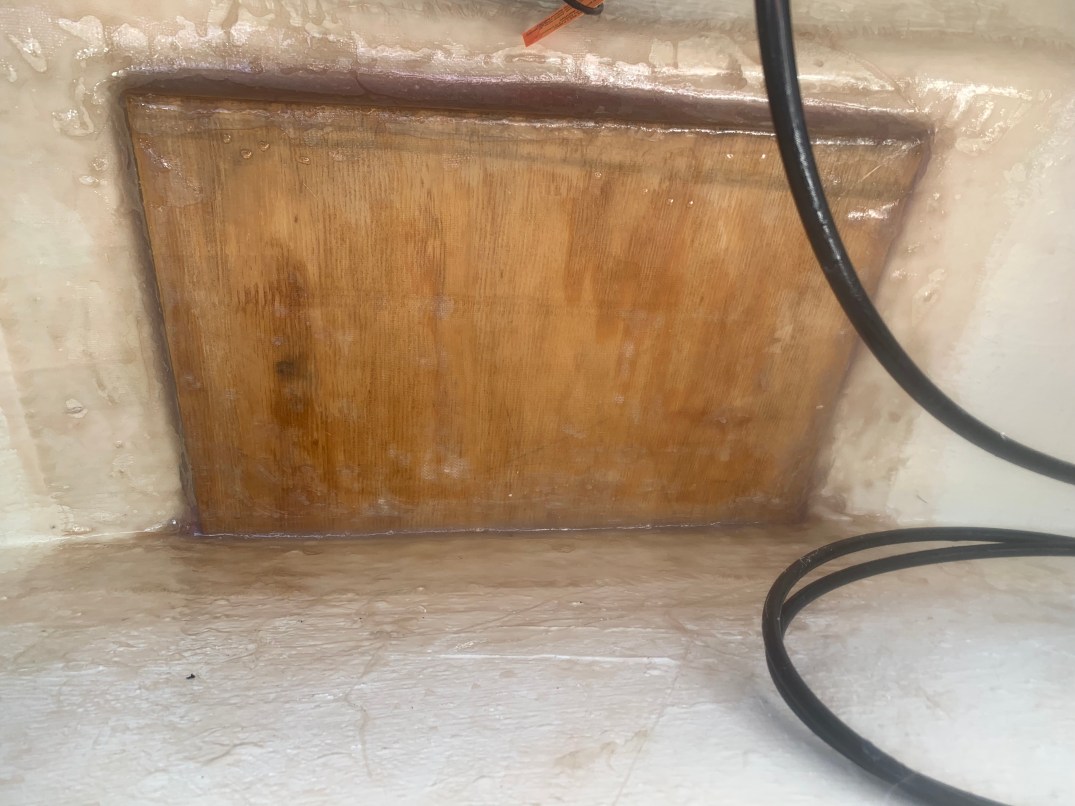
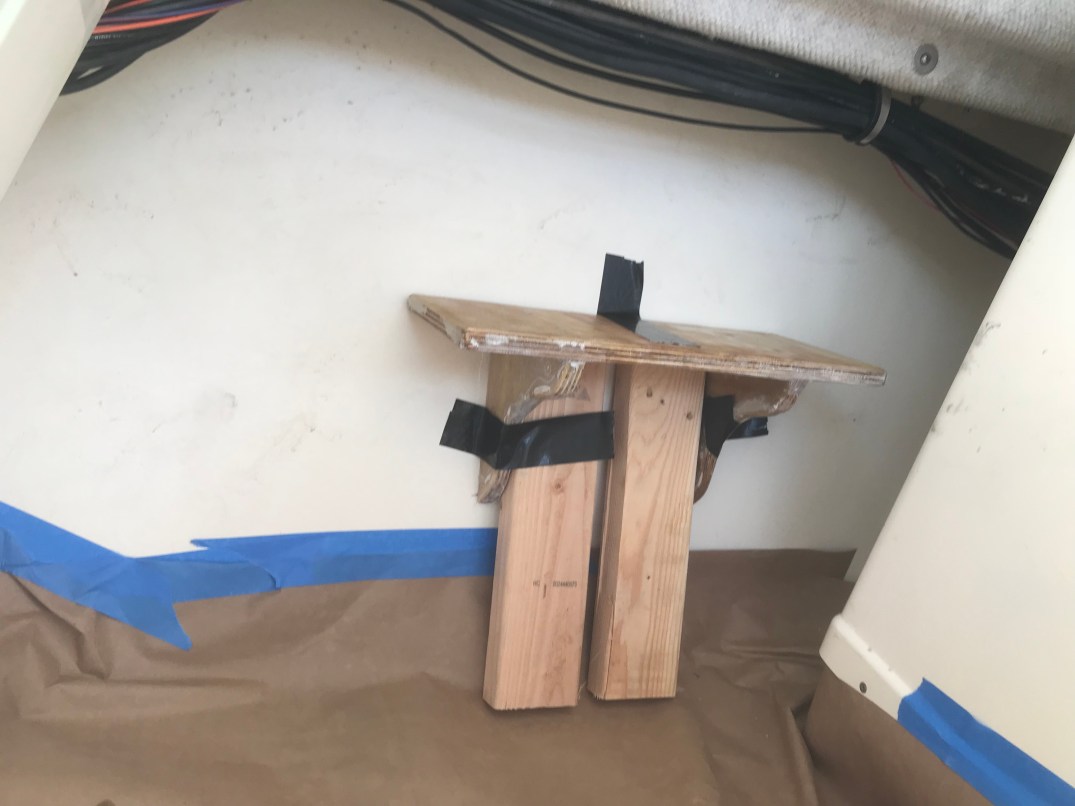
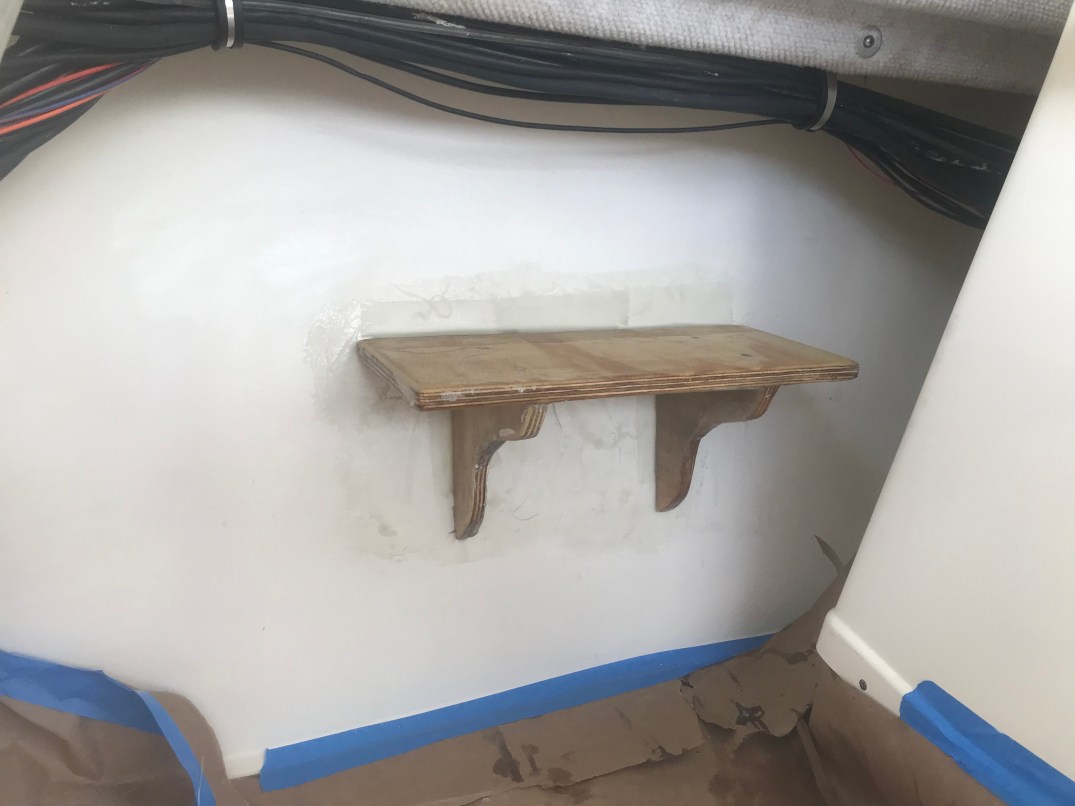
Getting down to it, I needed to install a mounting board to keep things dry and organized. Plywood resin, fiberglass and gel coat did the trick. I epoxied the board up and then used Resin + cabosil to make peanut butter, I used it to round out edges and help with glassing. Then a layer of chopped strand mat followed by glass cloth and resin. Once cured, I brushed on gel coat.


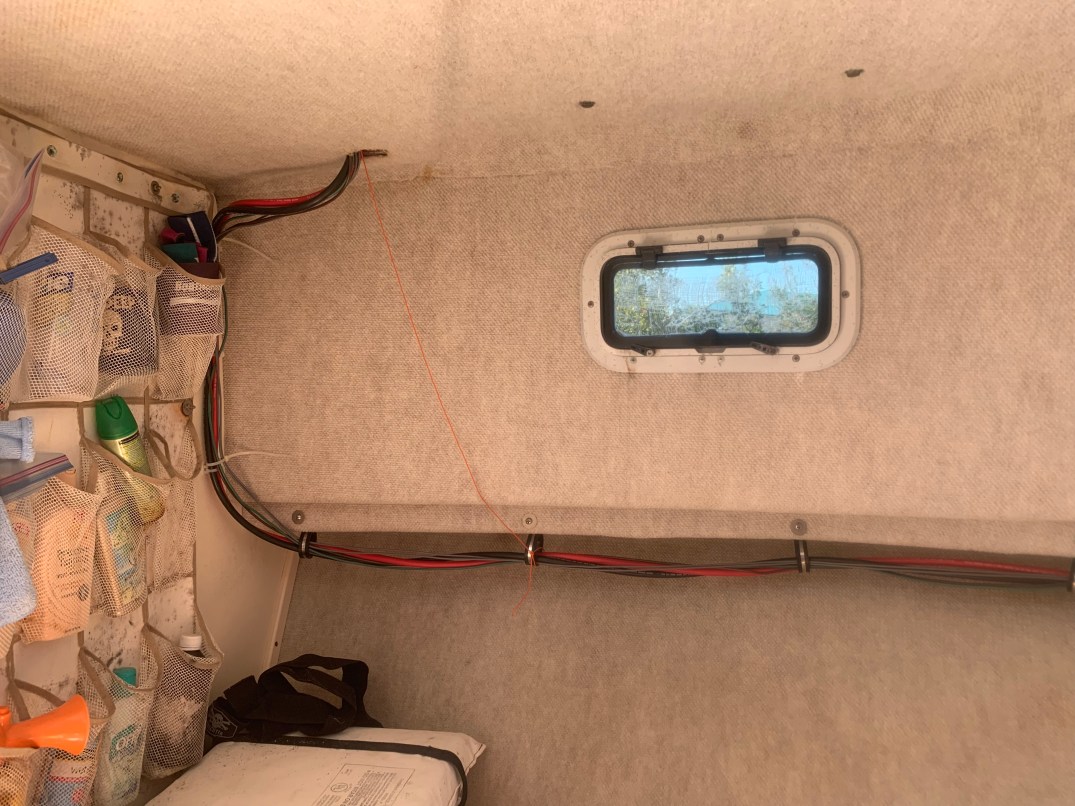
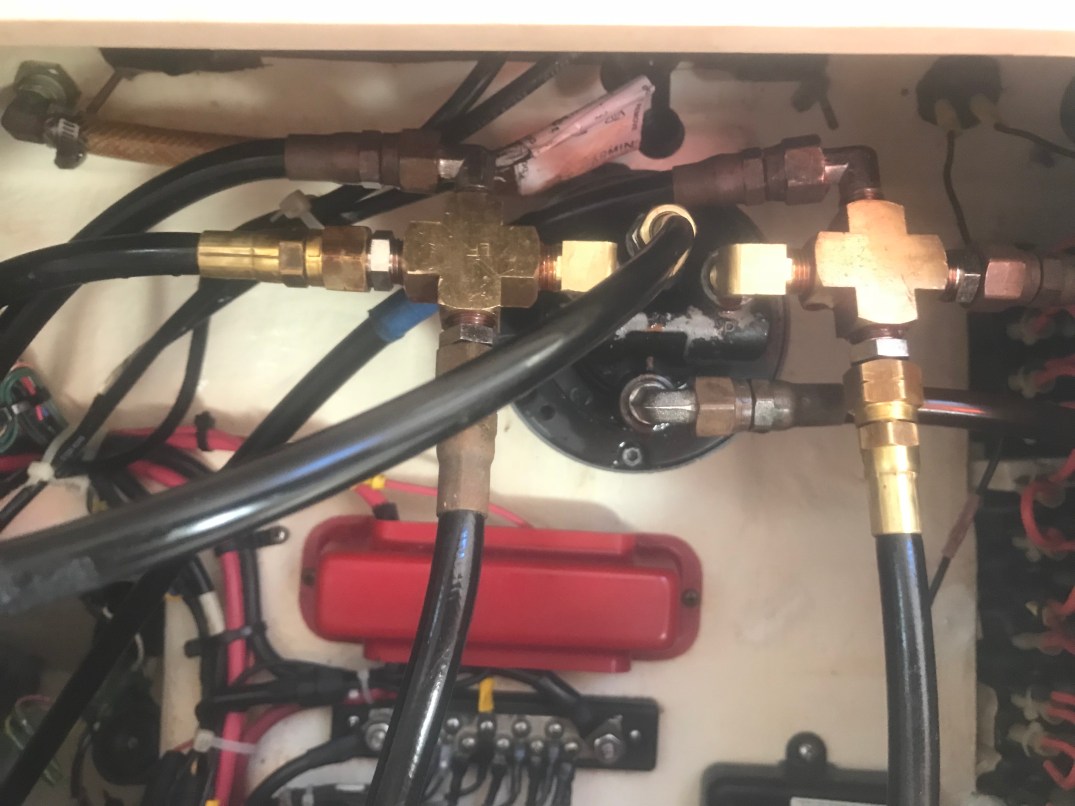
Once the mounting board was in, it was time to run cables and install terminal blocks. Pulling lines through the pipe work is painful, but it sure makes it a clean install. I put in the power and ground bus bars, and then a terminal block for connections. Next I installed and hooked up accessories. To get to the main helm I ended up running electrical and connections all the way around the v-berth via some new cable hangers.
She got a new horn (thanks to robin an awesome dual trumpet horn Christmas present), and a momentary switch for it. Then I mounted a new anchor light on top of the tower shade, nav light for the compass backlight, and an engine lanyard kill switch for safety.
 ,
,
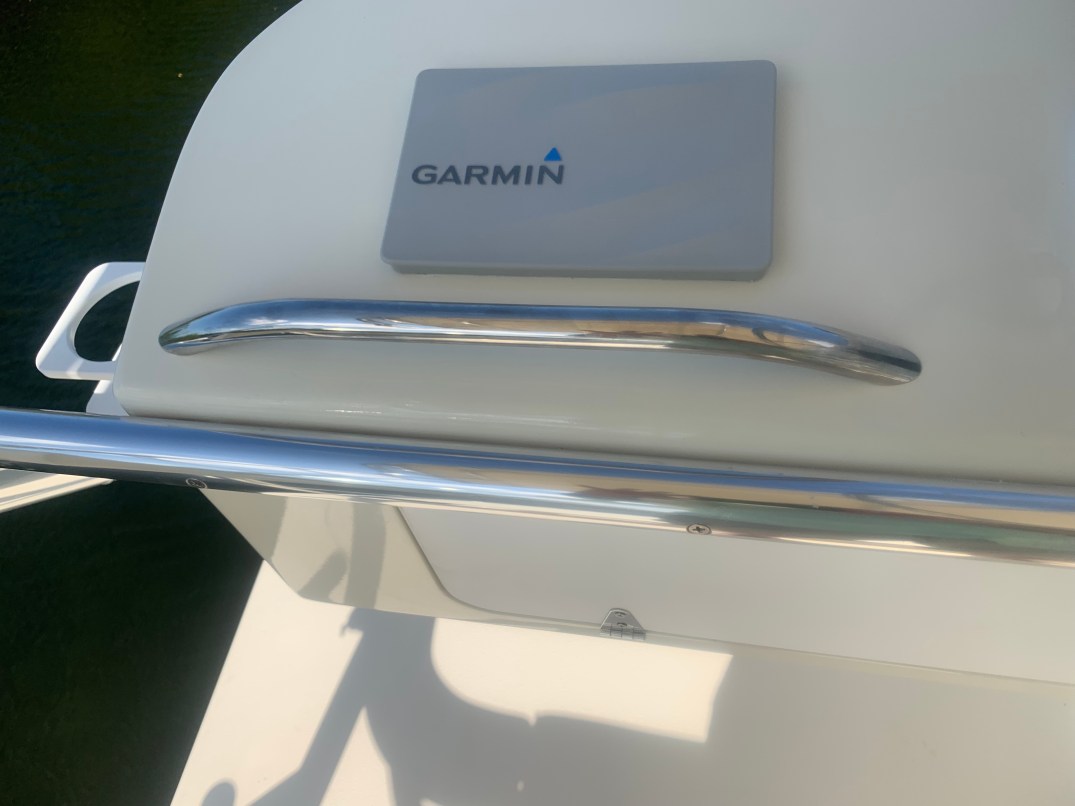
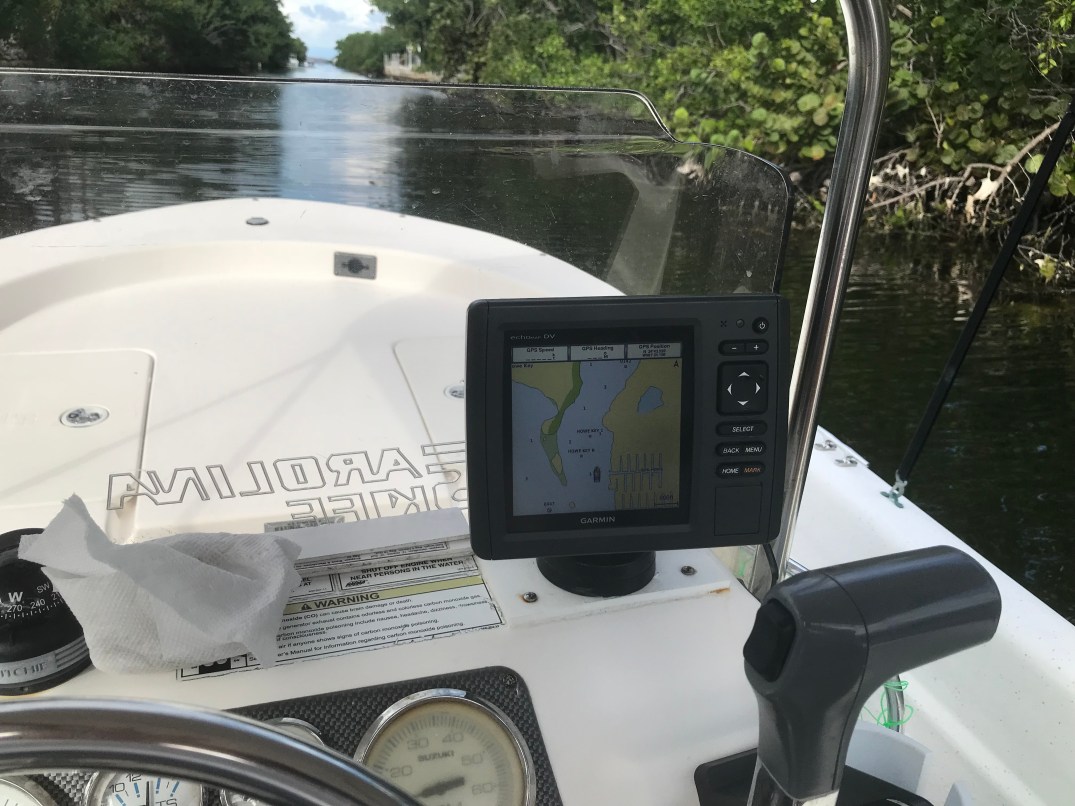
Finally, Robin let me pick up a new multi-function display. I ended up getting a garmin 742xs network attached plotter, which has a clean flat touch screen look, and console mounted it. I have a pair of really nice transducers connected to the main helm, and I wanted to be able to view the sonar from up top. The garmin network works flawlessly! It is crazy how dead simple the engineers made it. As soon as I powered it up, the tower unit and the main helm unit found each other, transferred waypoints, and boom – full sonar control both upstairs and down!

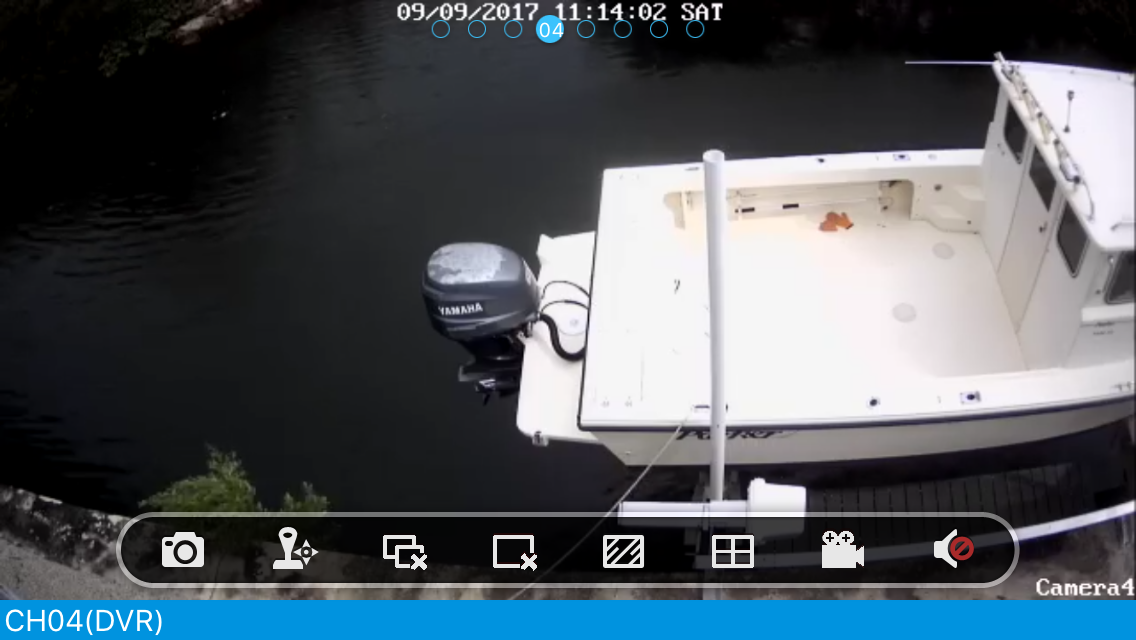
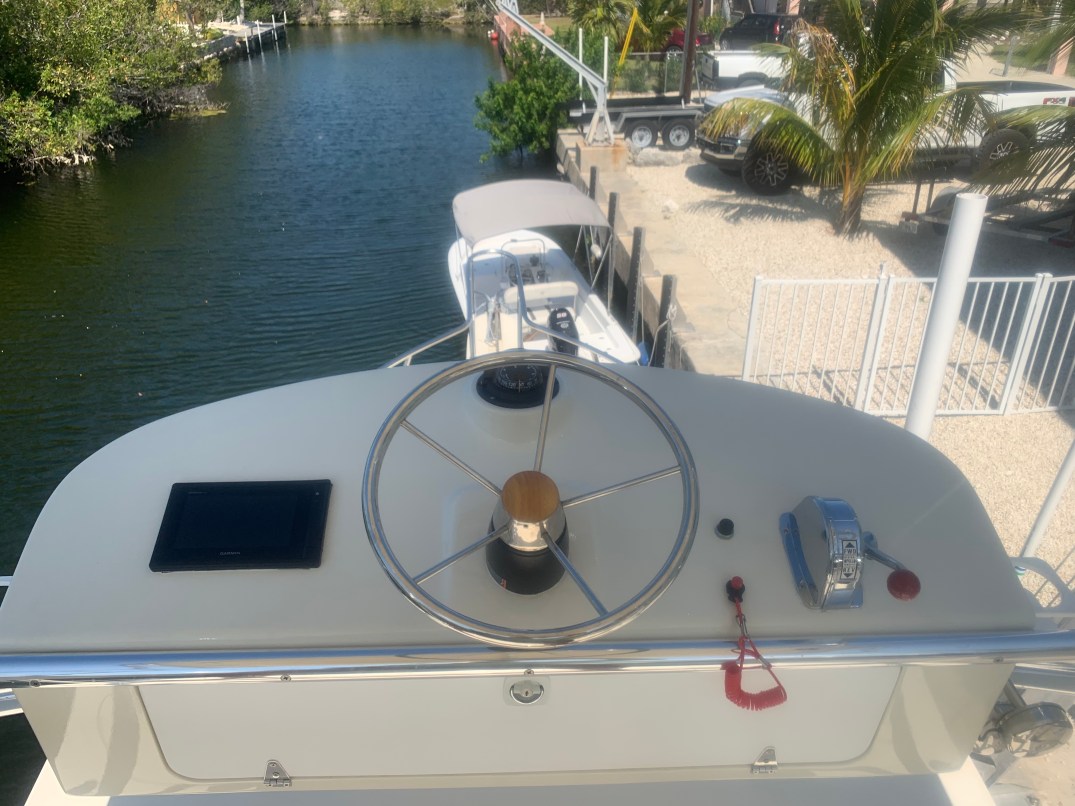
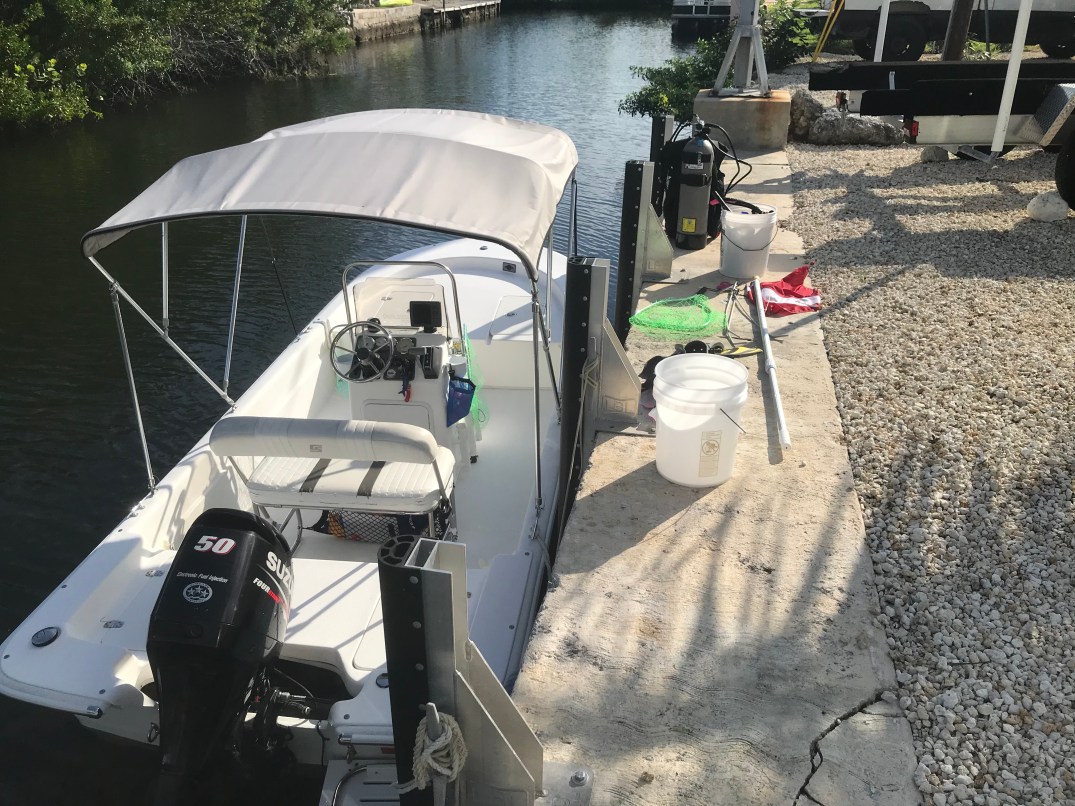
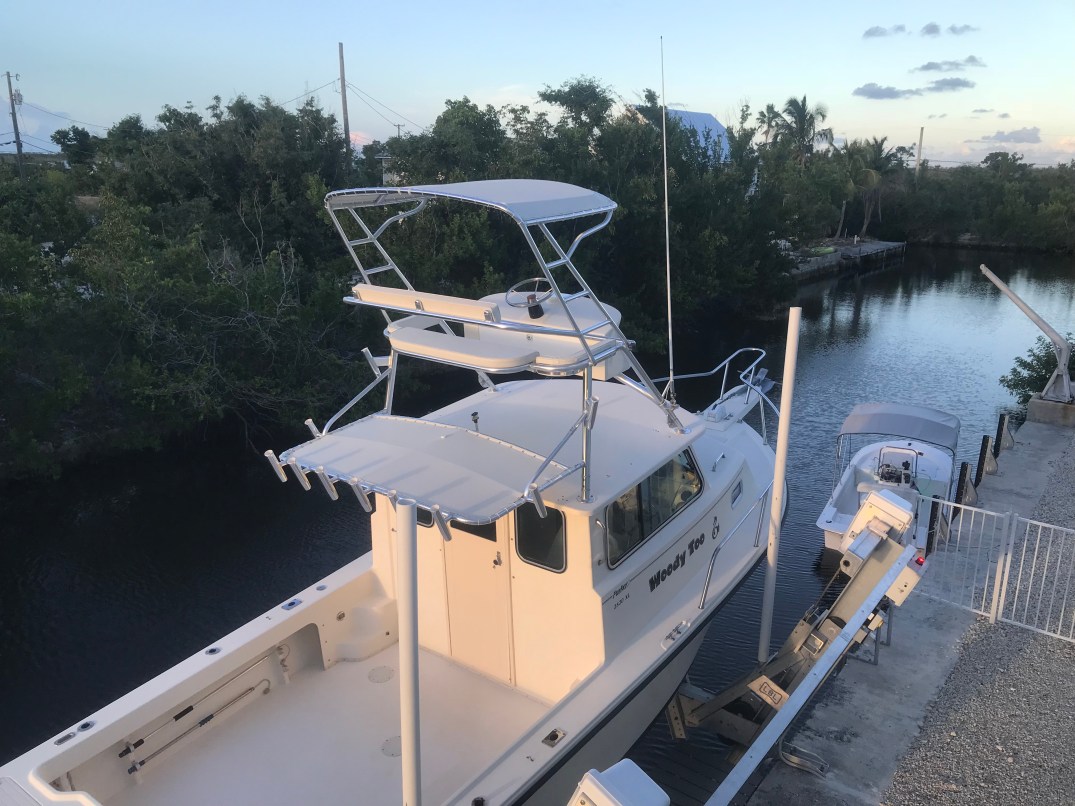
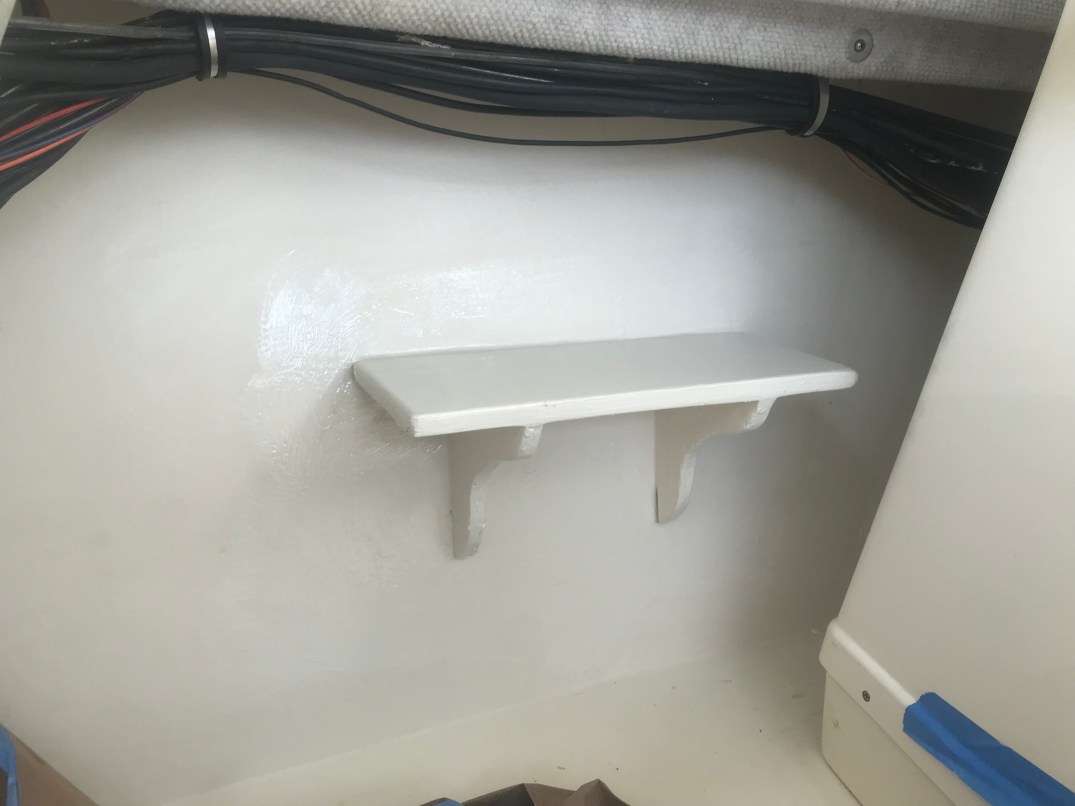
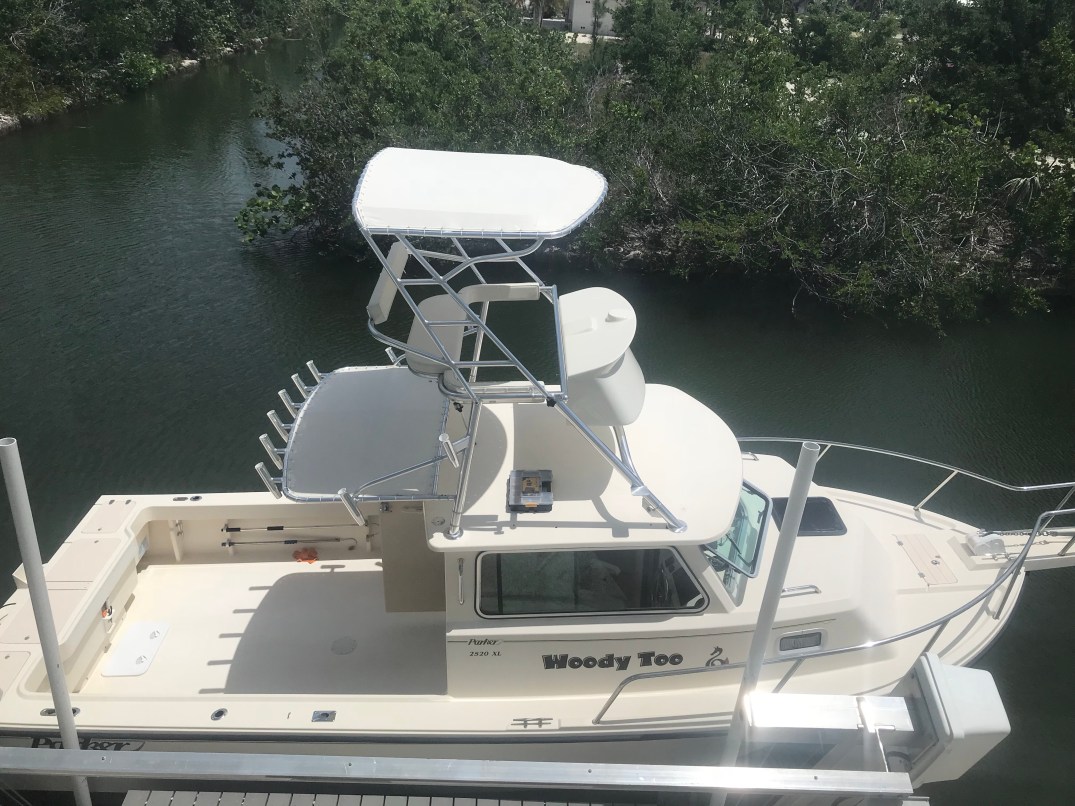
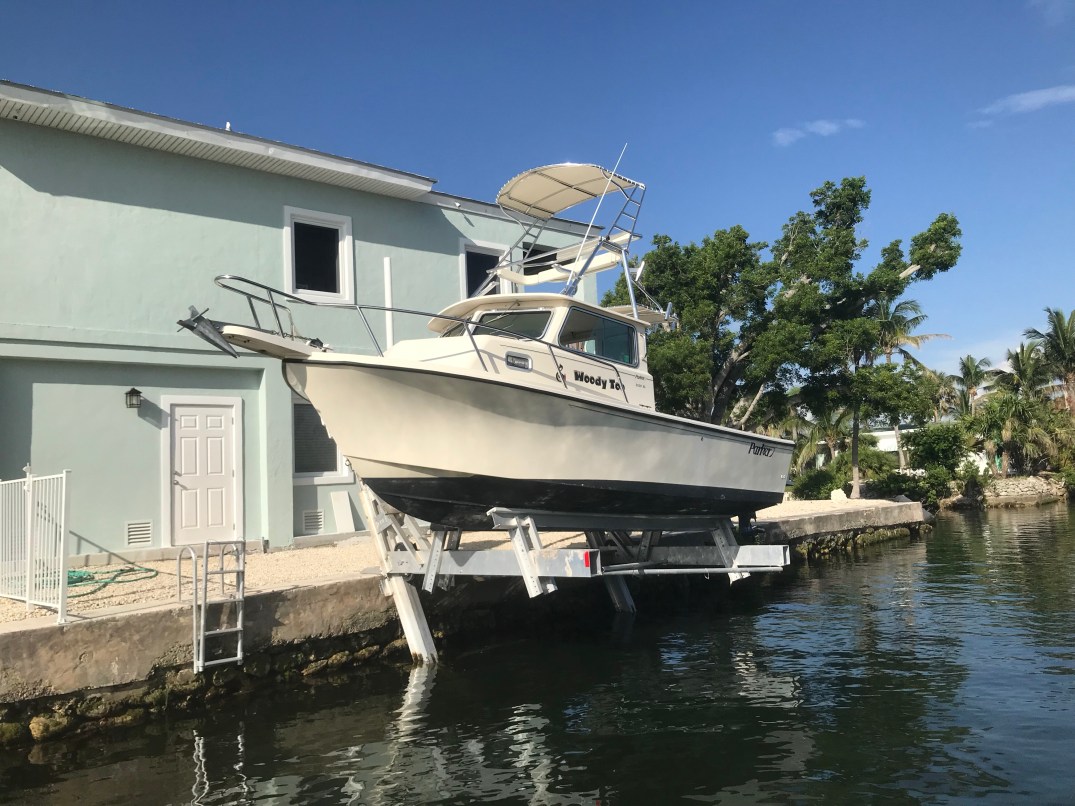
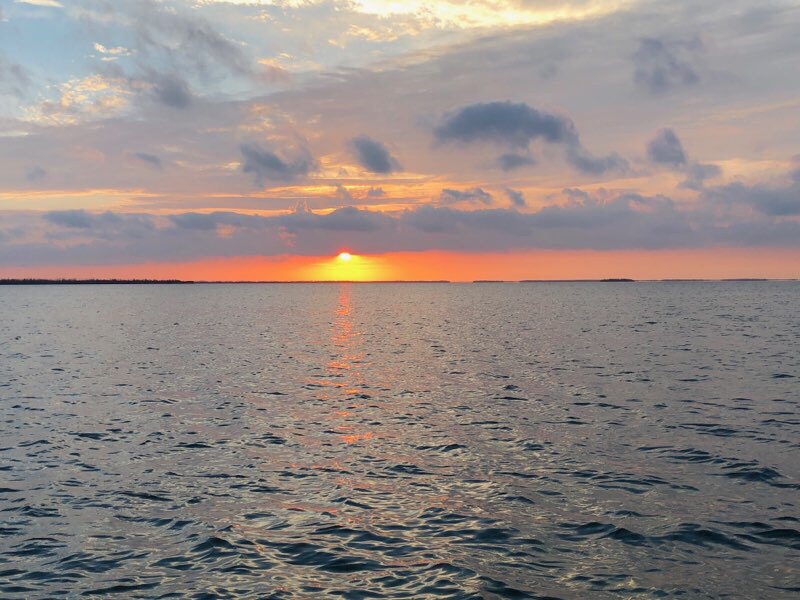
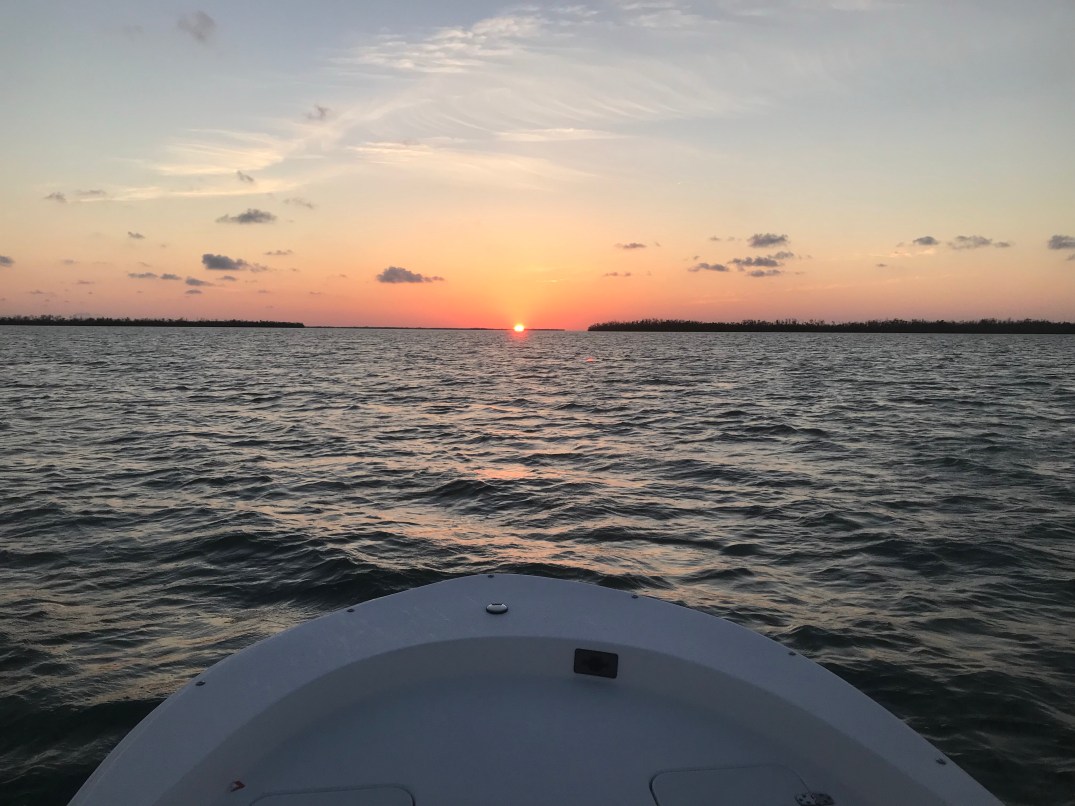
So here is the end result … pretty clean looking install!
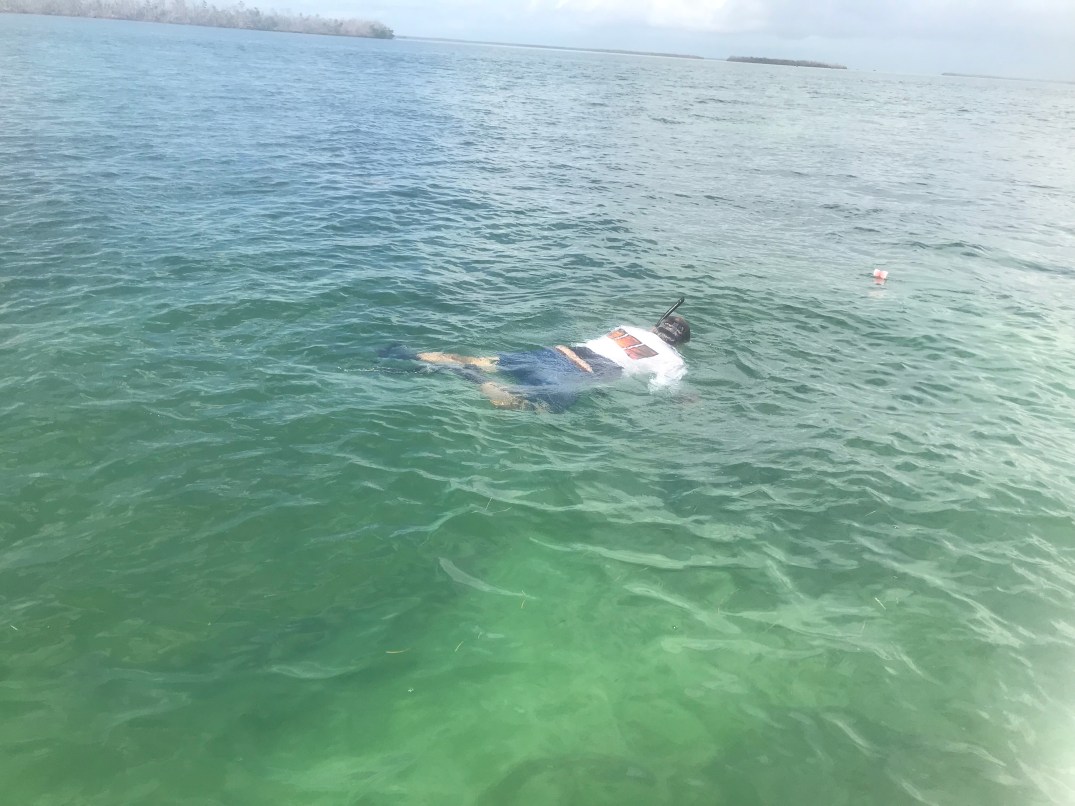
Now for the hate part. I went in with Tom and Glen and bought a new toy called the “ballyhoop”. It is basically a collapsible hoop net for catching ballyhoo chummed up behind the boat. Pretty cool concept … problem is we are 0 for 2 on getting ‘hoos behind the boat!

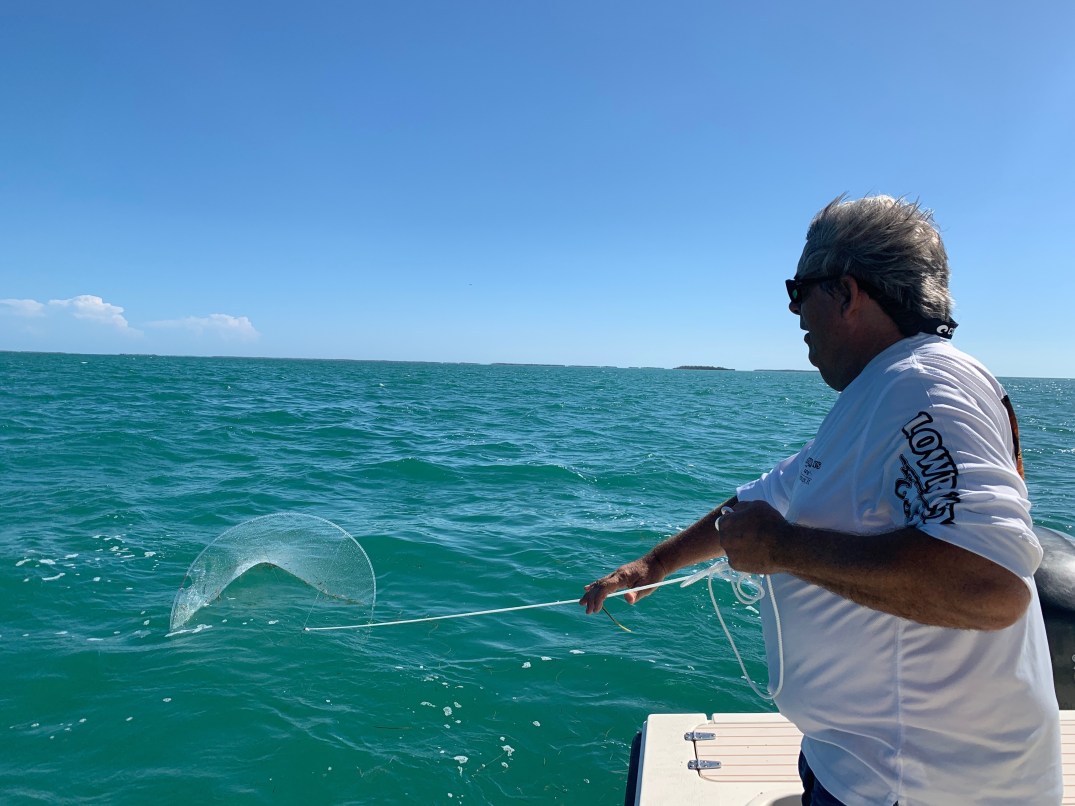
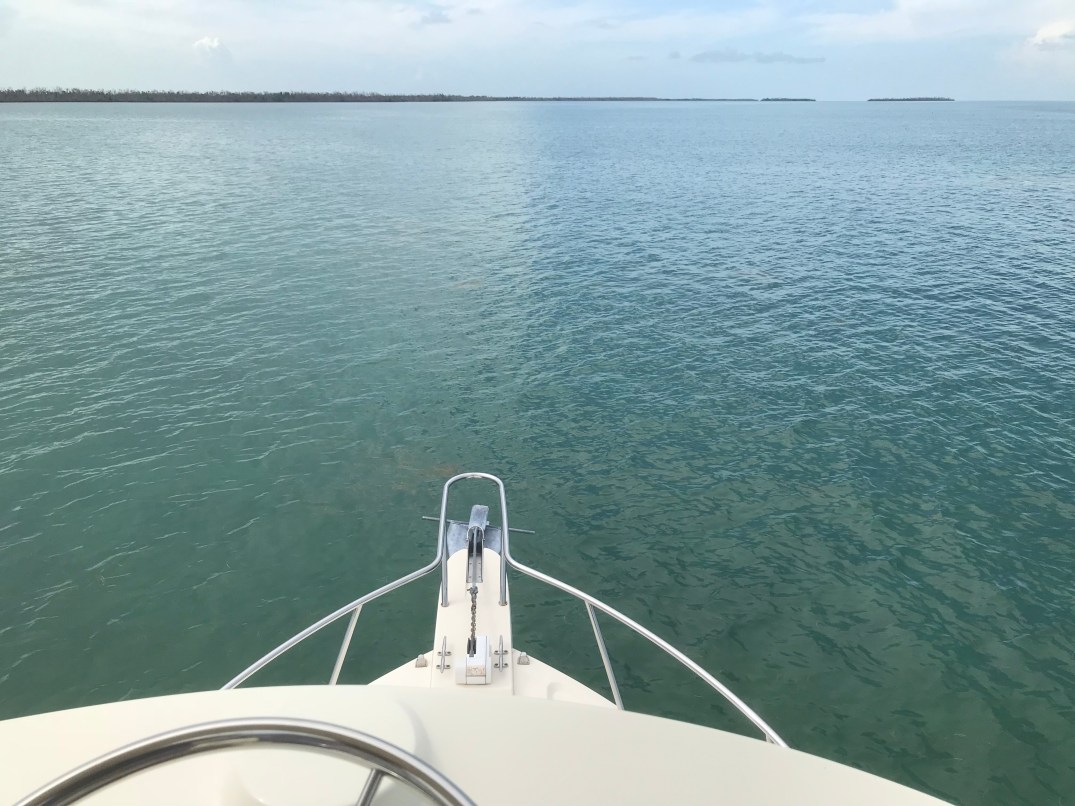
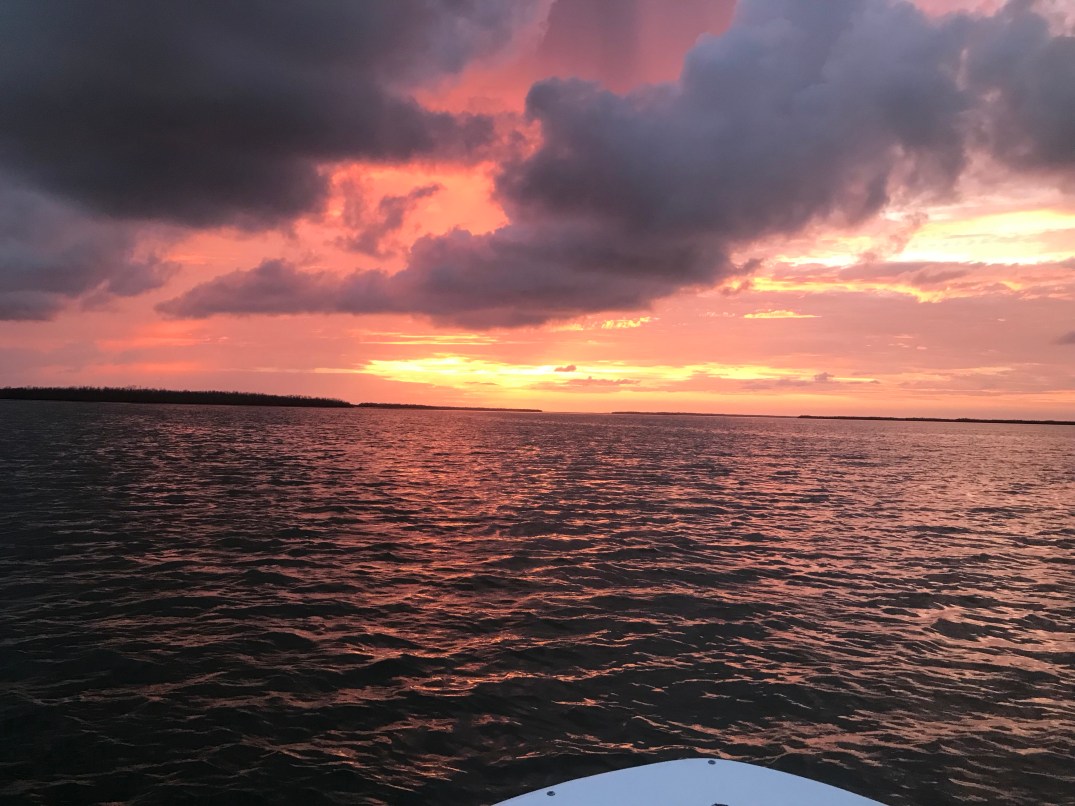
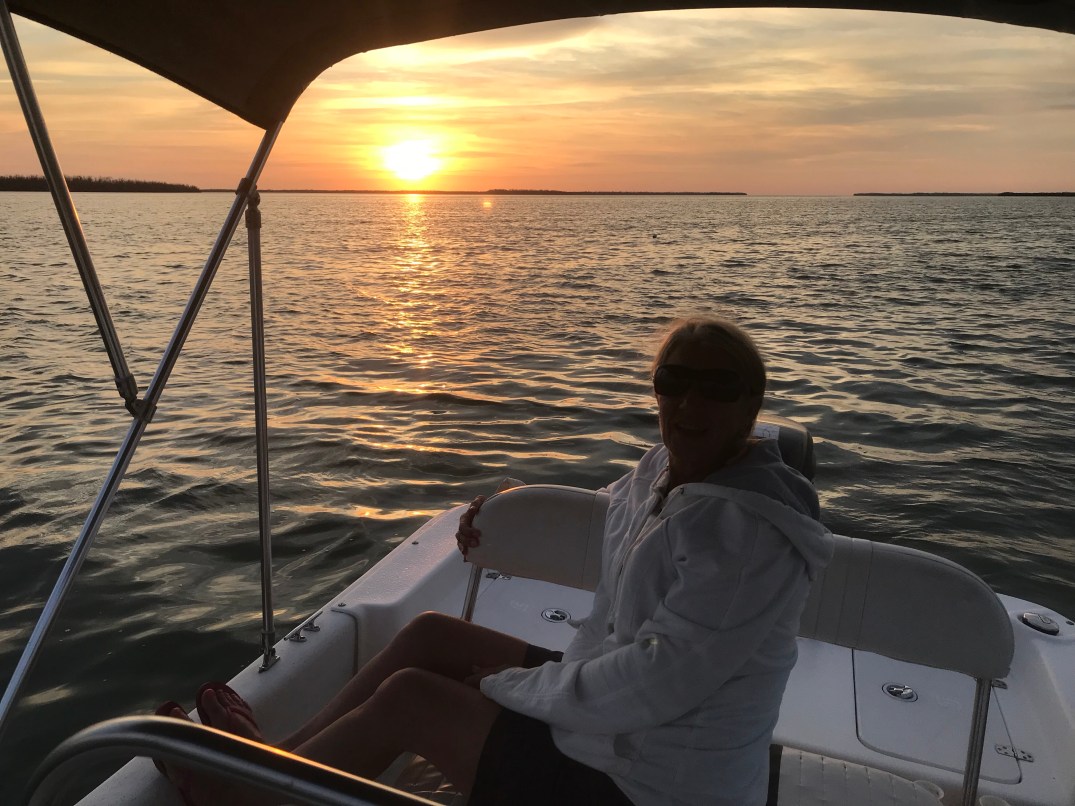
Right after robin snapped this picture, we pulled anchor and throttled up to head home. Instead of jumping up on a plane, the boat died. I fired it up and tired again a couple times without success. I ended up having to crawl in the bilge and squeeze the primer bulb while Robin putted us home. We were around 10 miles away, so by the time we got there, I was about done pumping that damn bulb!
The next day I tore the fuel system down, and started troubleshooting. I found the low pressure fuel pump fuse was blown, replaced that and it blew again. So I knew the problem was in the low pressure fuel circuit. I had to go to Phoenix that week, and wanted to make sure I fixed it right. So I ended up ordering low and high pressure fuel pumps, all filters, the fuel pump relay and the vapor tank gaskets and screens.
Amazon to the rescue! It is amazing, i type in Yamaha part numbers and boom Yamaha and after-market parts pop up, and all available on prime with 2 day free shipping! So I get home from Phoenix, all parts were in-hand, and the next day I put Humpty Dumpty back together again. Test drive went fine, and we got ready to fish on Sunday.
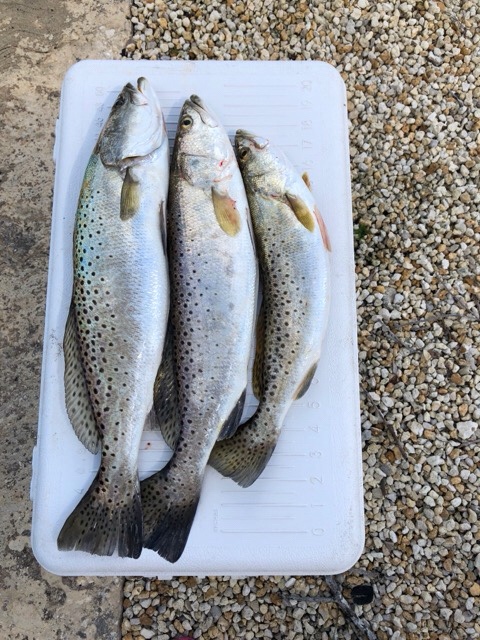
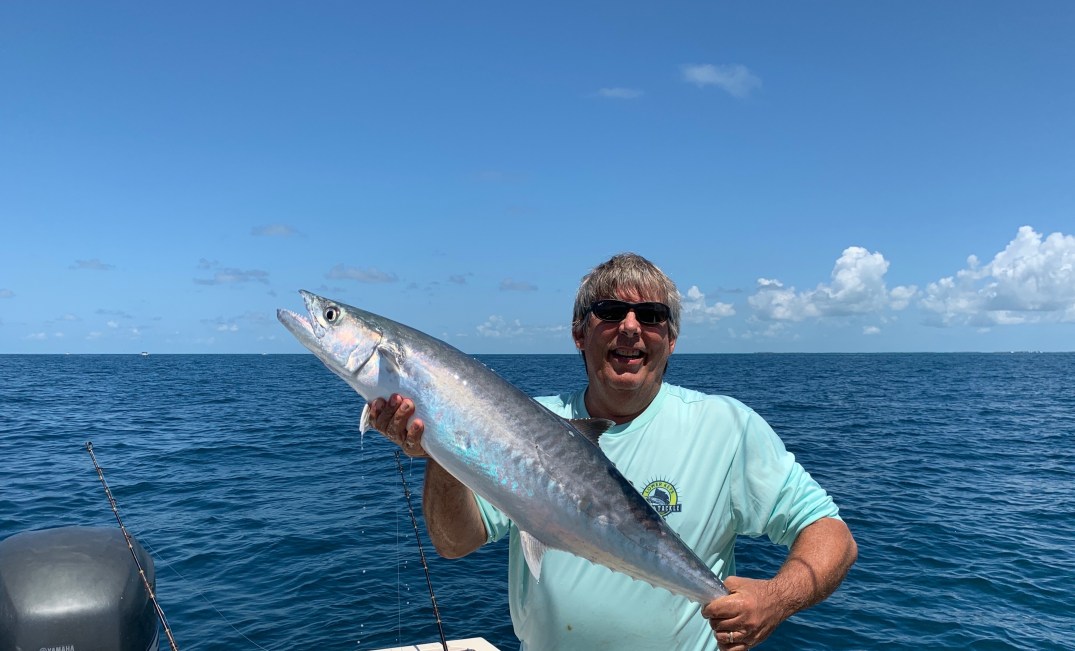
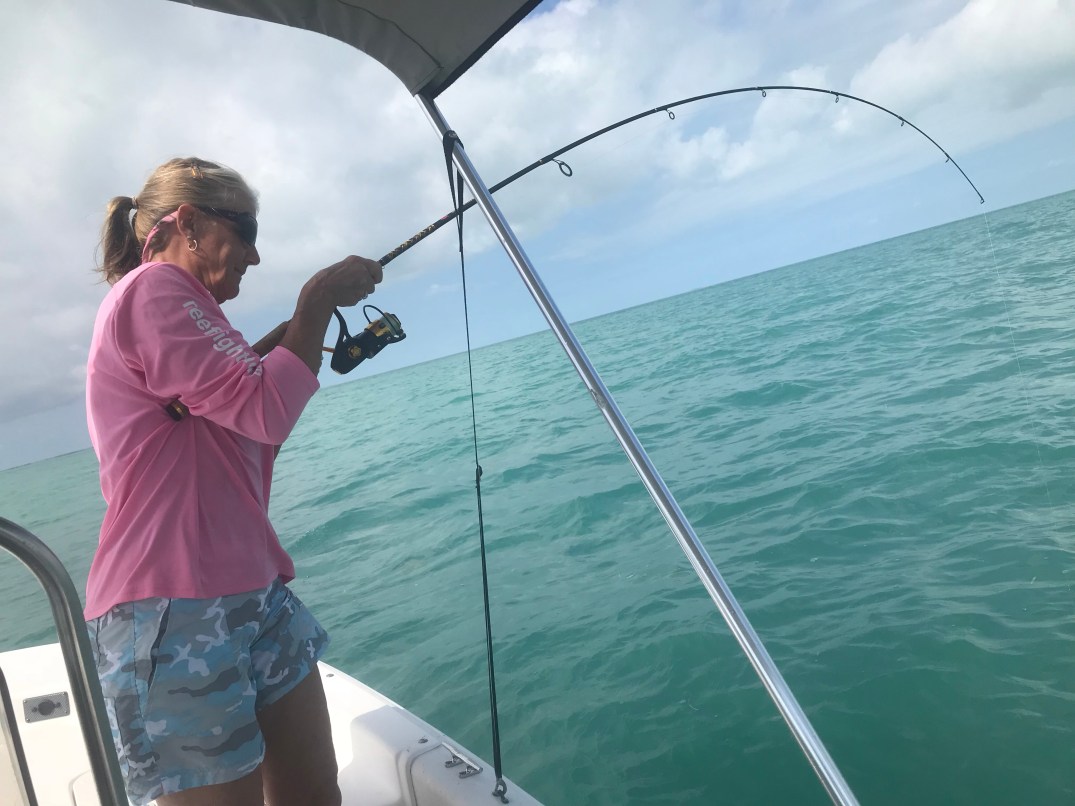
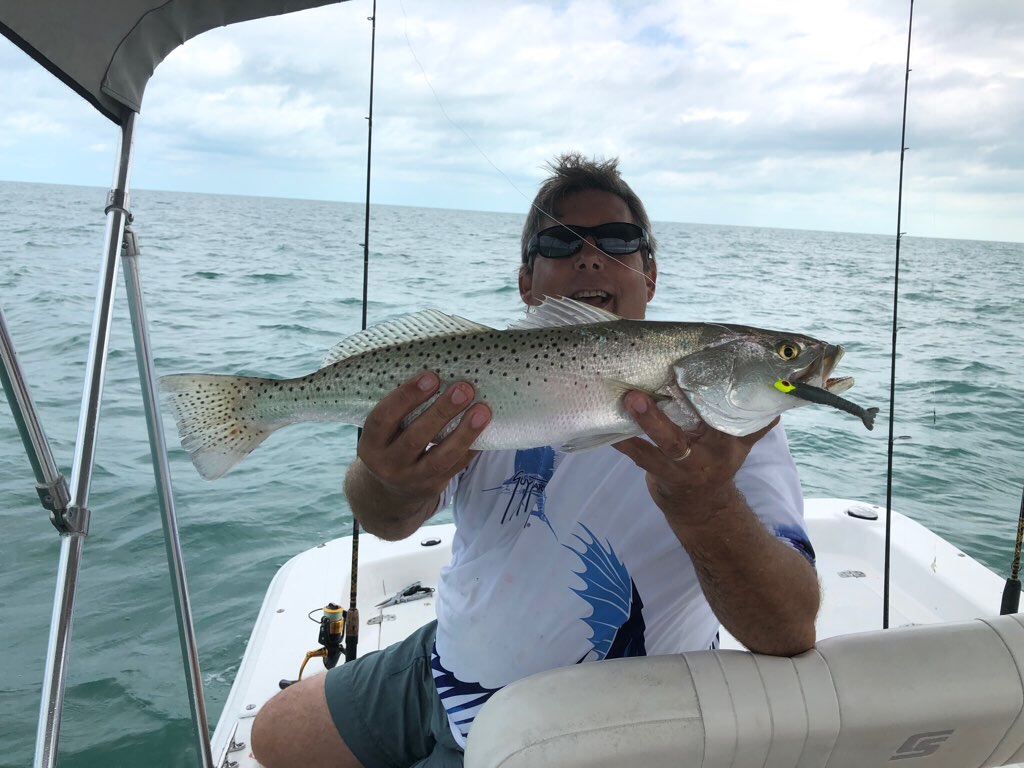
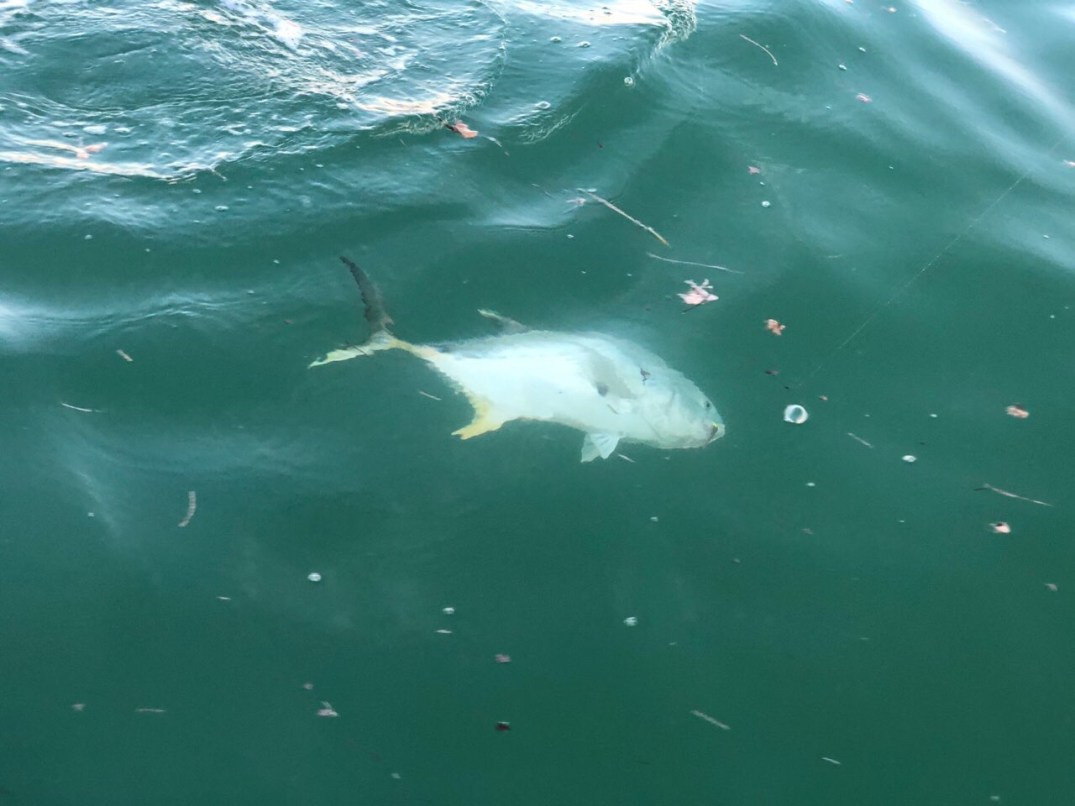
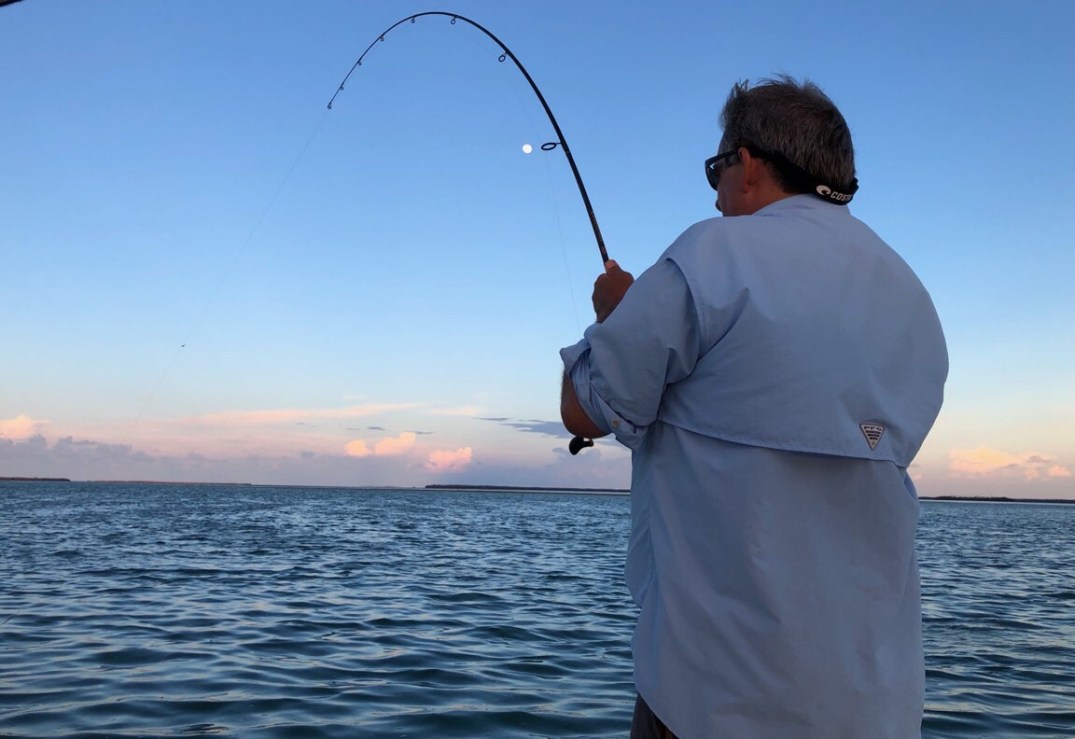
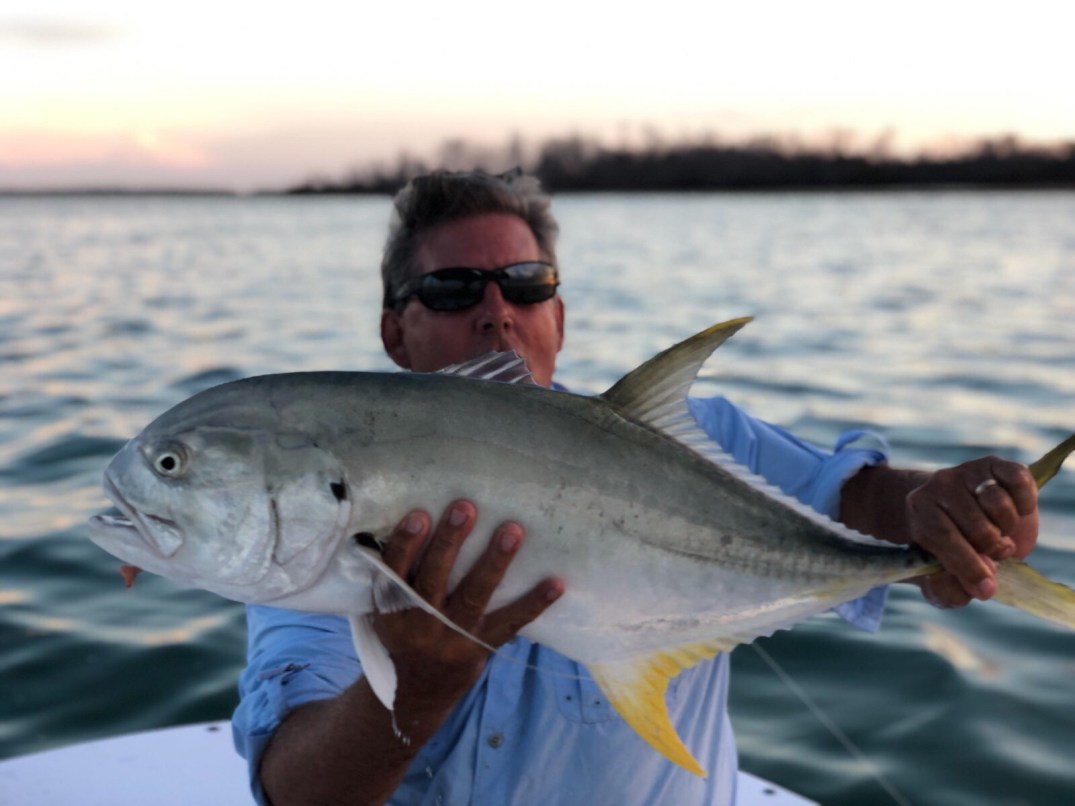
Sunday came and off we went. We left the canal and all was fine. Stopped in pine channel and caught baitfish, and when we throttled up, it sputtered and I had trouble getting full power. I kept playing with the throttle and it was running (poorly), so we kept going and fished all day and caught this guy … I am pretty sure that is the fattest kingfish I have ever caught. It absolutely smoked the reel!

When we got home, I tore it back down and found I had busted a gasket on the vapor separator tank, and a piece of gasket material was clogging the high pressure pump. A trip to see Marshall at fast action marine netted a new gasket. I put her back together, and boom, back on the water! Nothing like fixing something twice, just for the heck of it!
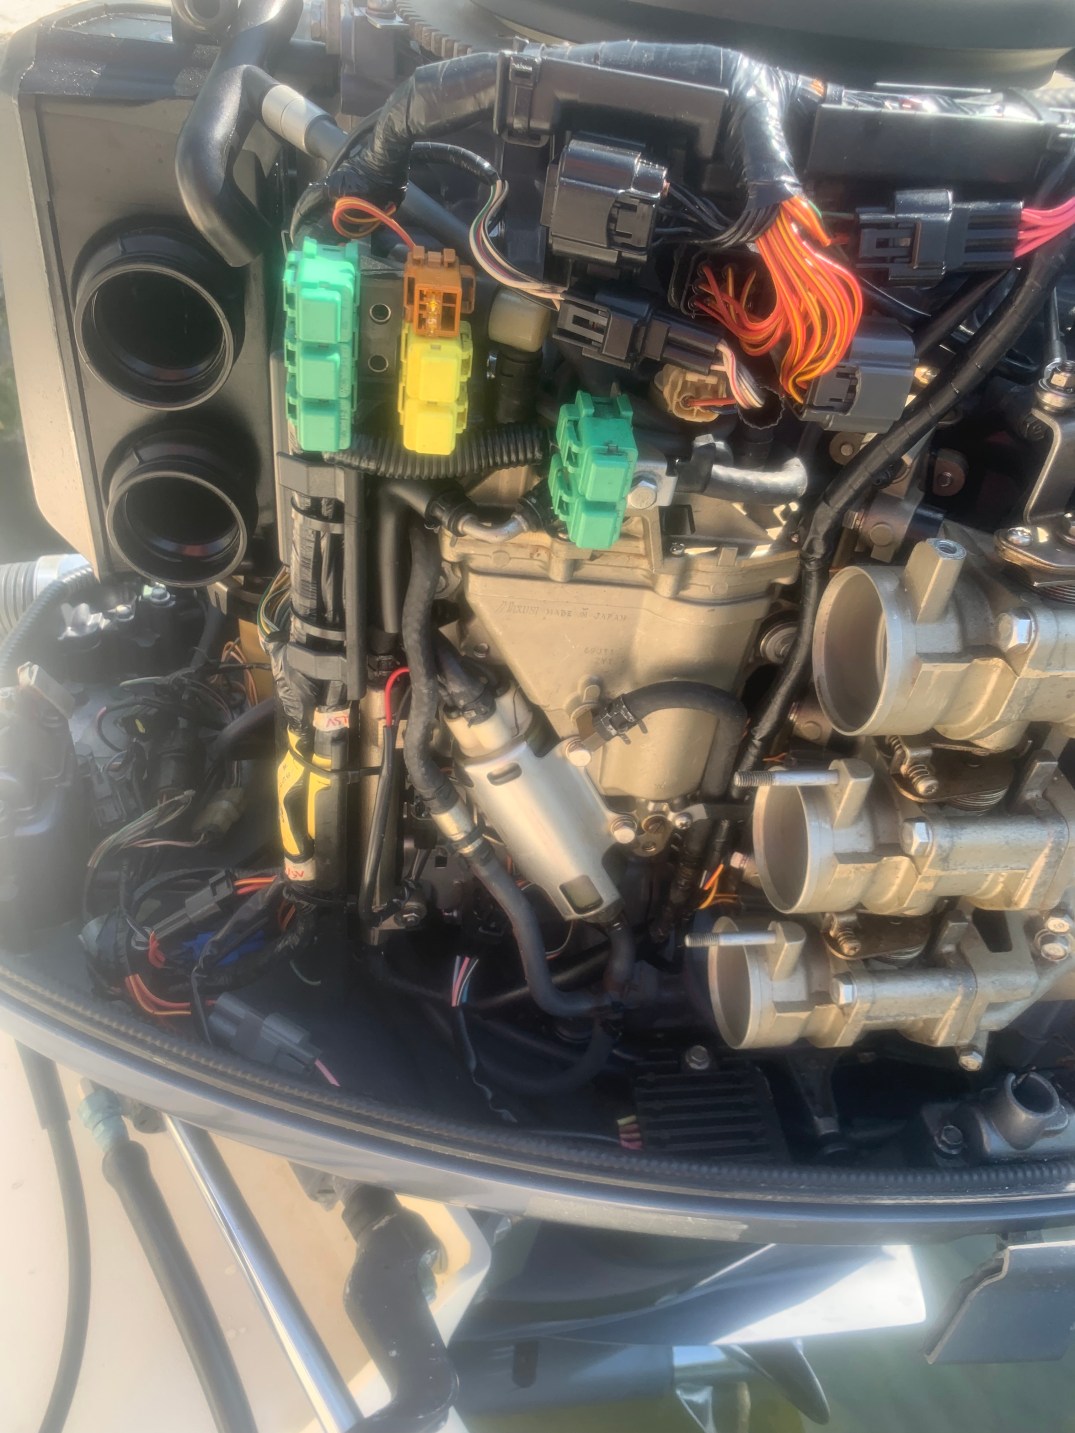
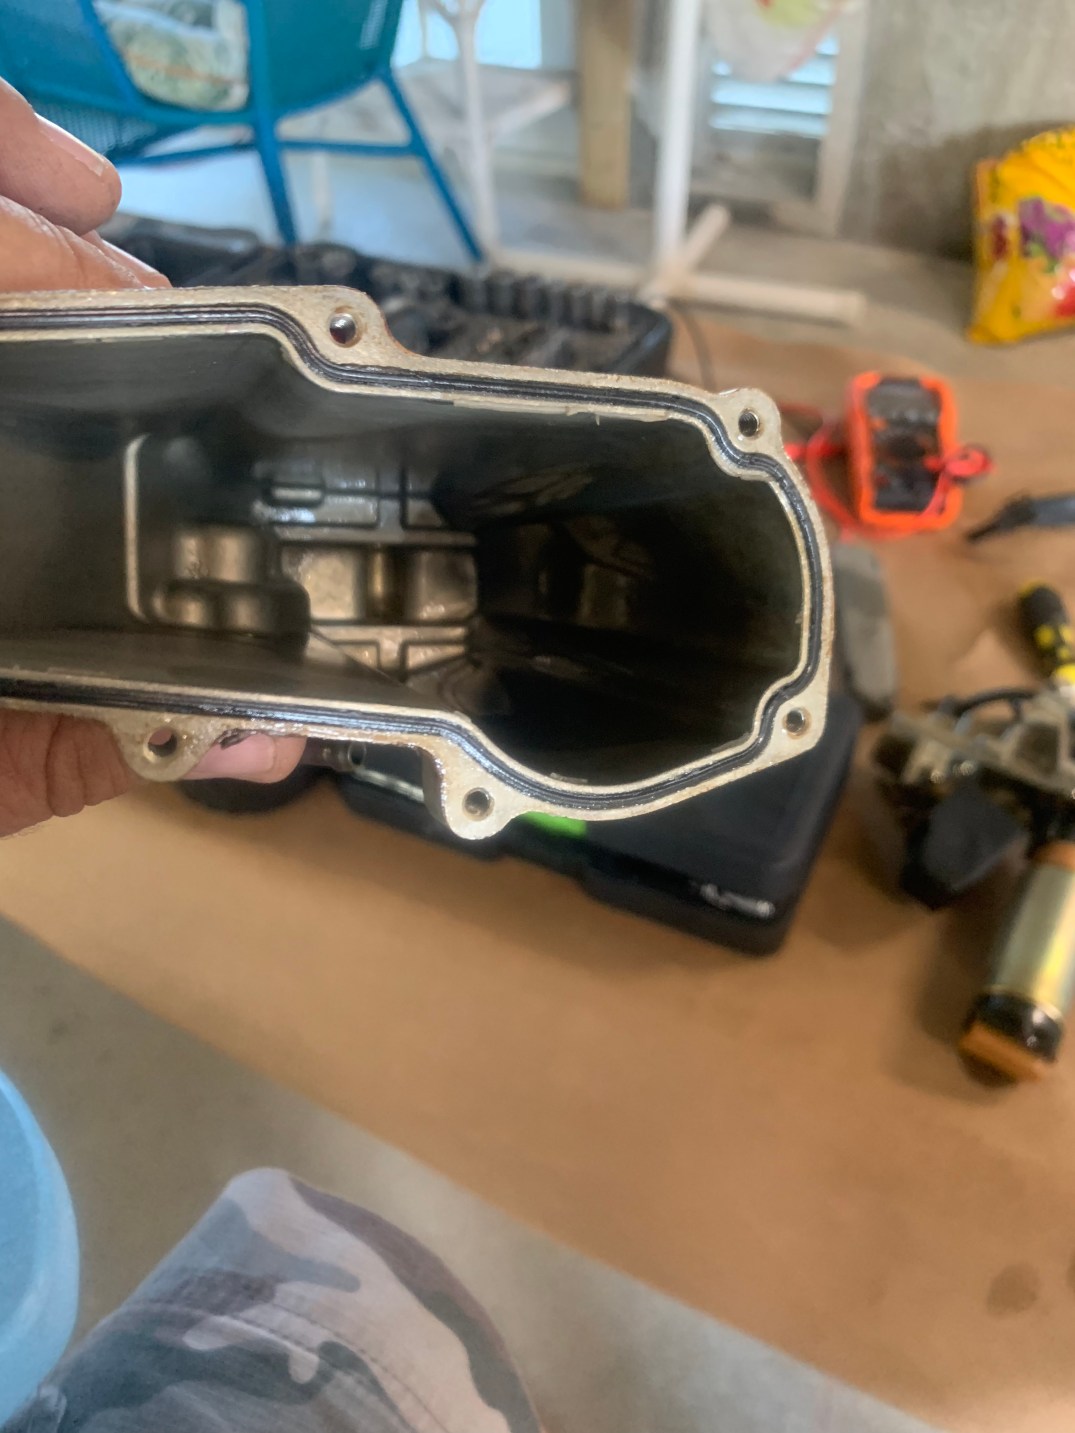
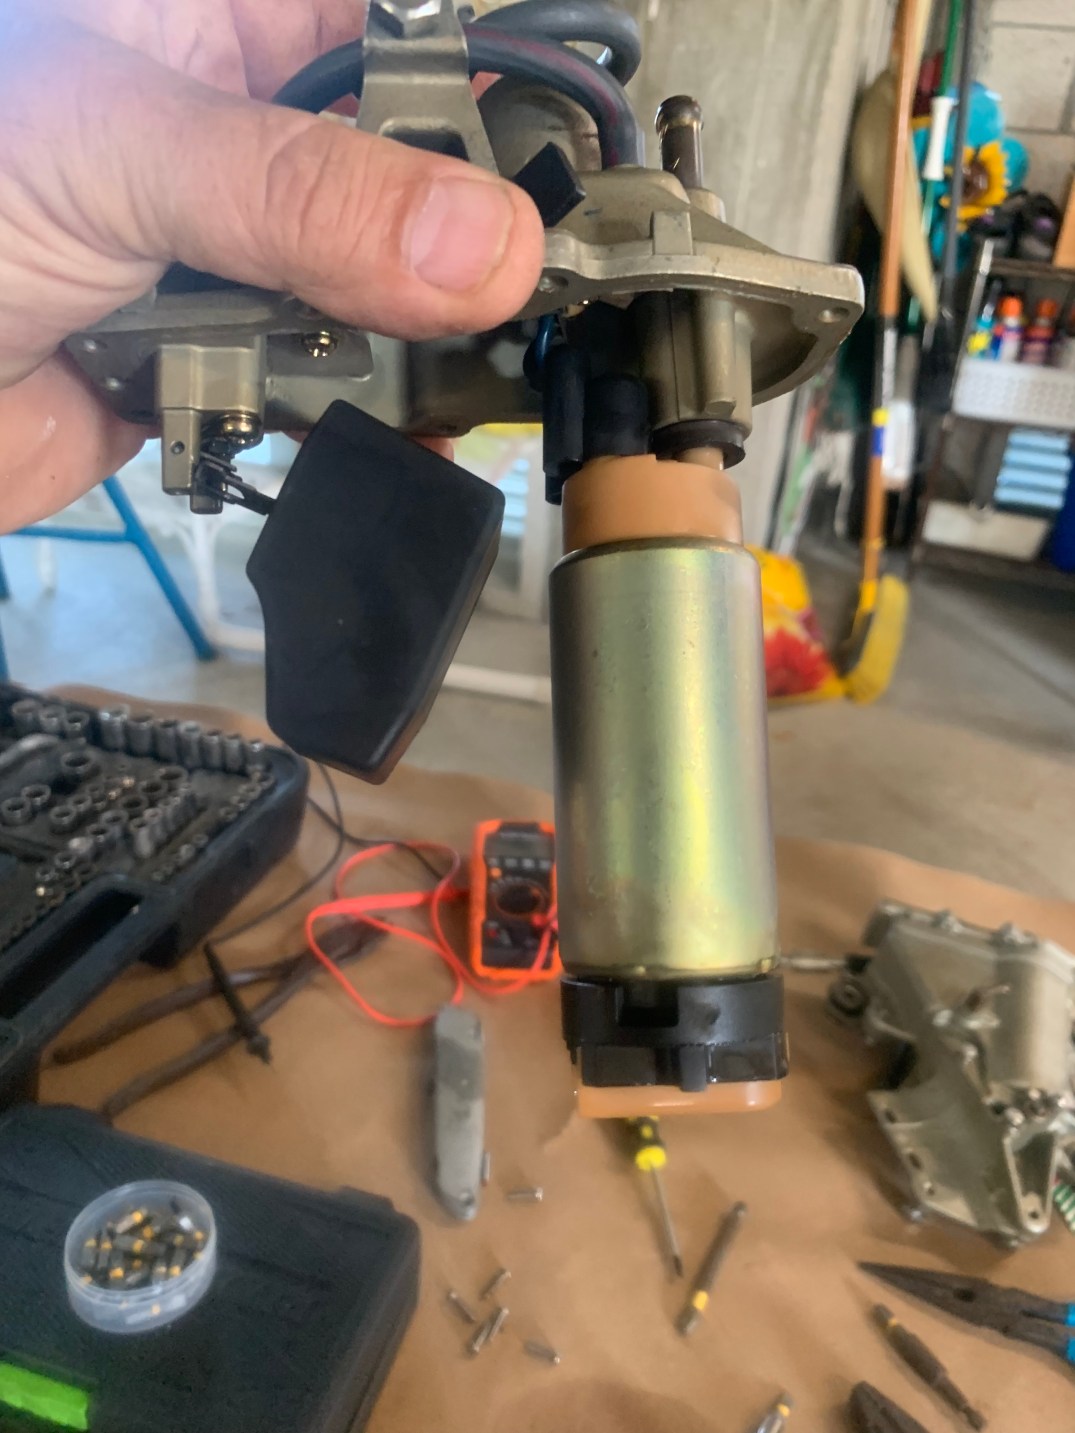
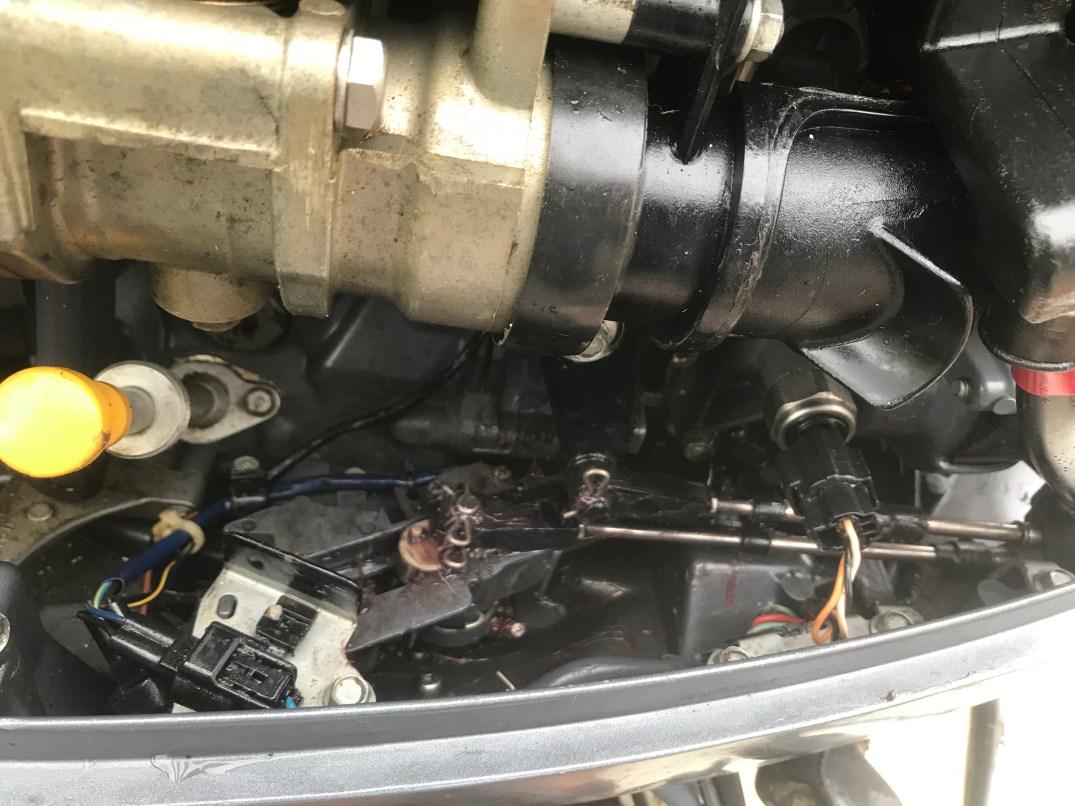
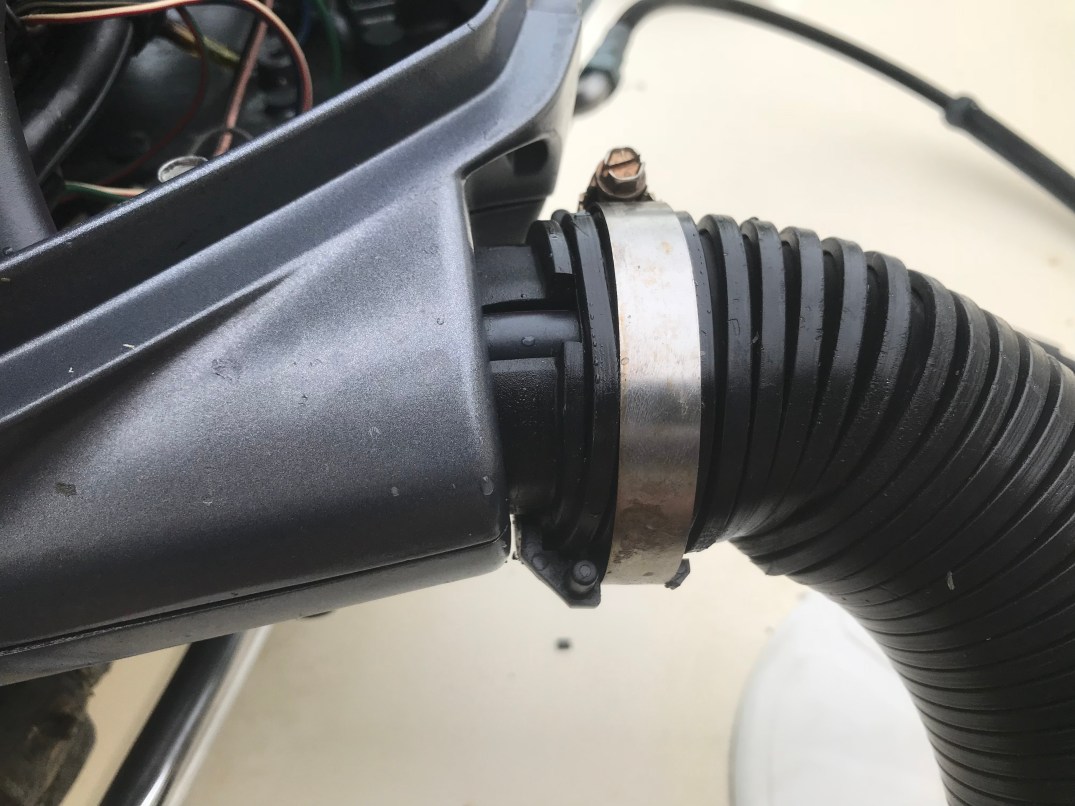
If you ever wondered what was In a Yamaha vapor separator tank, see below. These are pictures from the first time I tore it down. The black gasket on the first picture is the one I tore. The round cylinder is the high pressure pump. Boat trivia – on a car the low pressure pump is in the fuel tank, and “pushes” fuel to the high pressure side on the engine. On a boat the low pressure pump is on the engine, and it sucks fuel from the tanks, and fills the vapor separator tank. The high pressure pump is actually submerged in the tank, and pushes fuel at high pressure to the fuel rails and the fuel injectors. When I tore it all apart the first time I was actually really pleased, I put over 500 hours worth of fuel through that tank since the last cleaning, and look how clean that filter is! #noethanol!


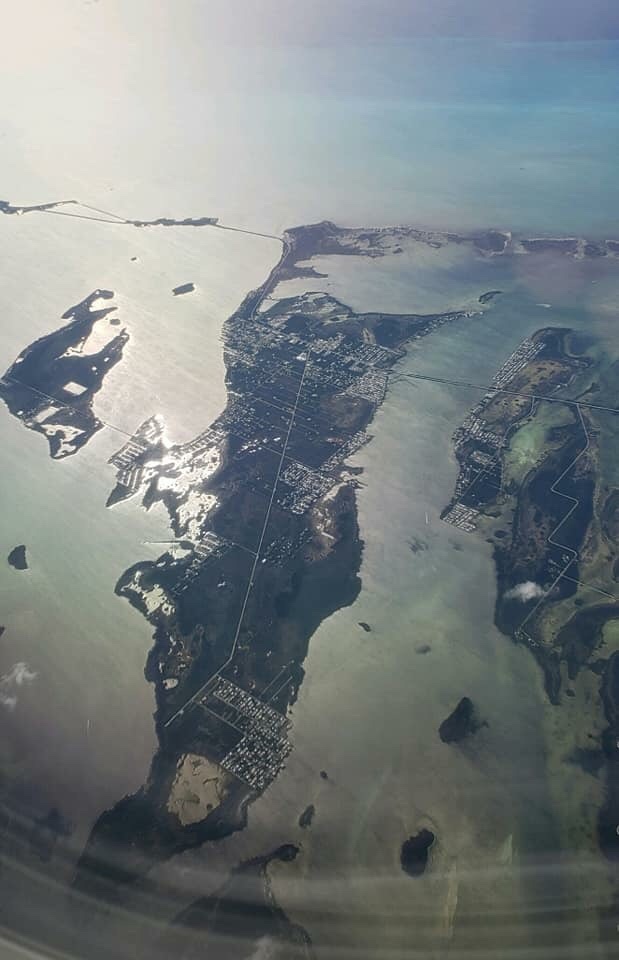
just in time too! Fishing vacation is around the corner! Let’s do this!


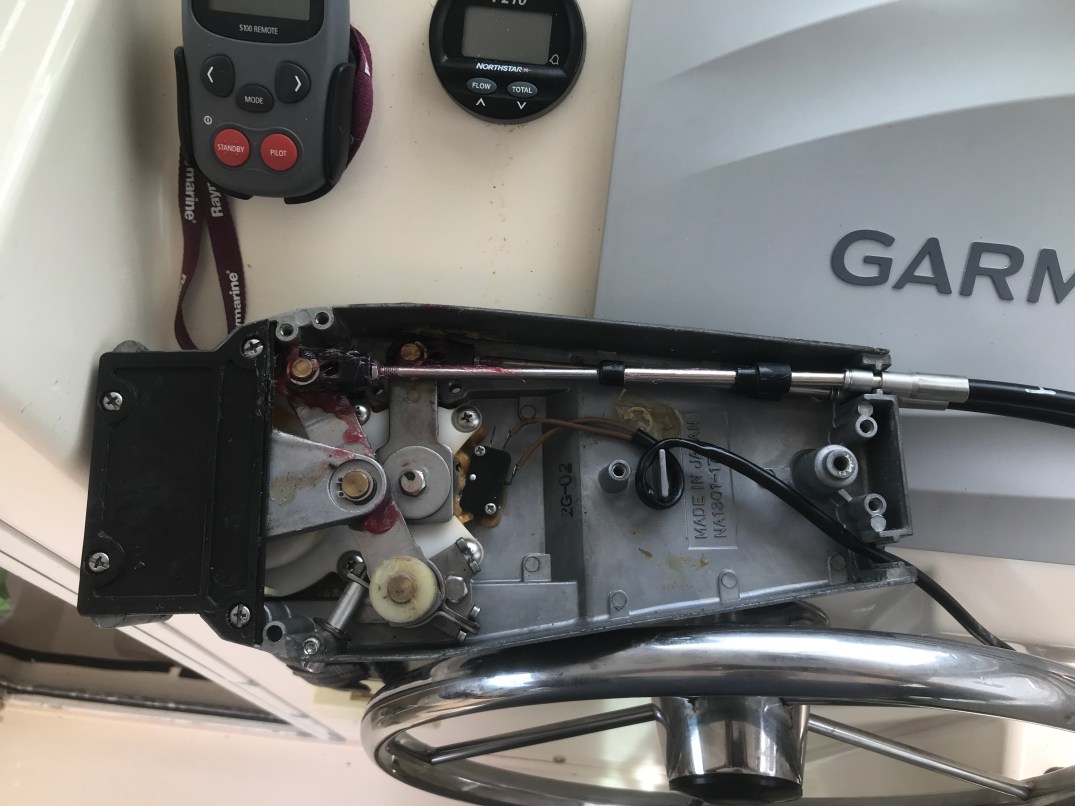
 Steering install:
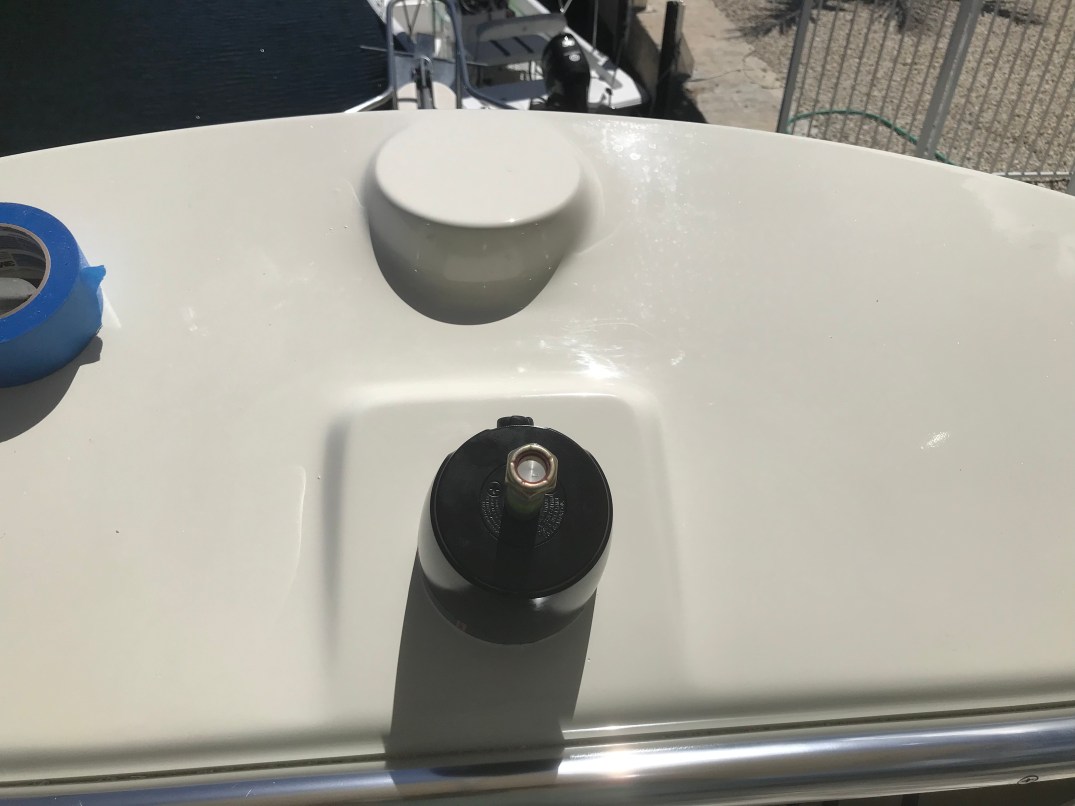


 ?
?


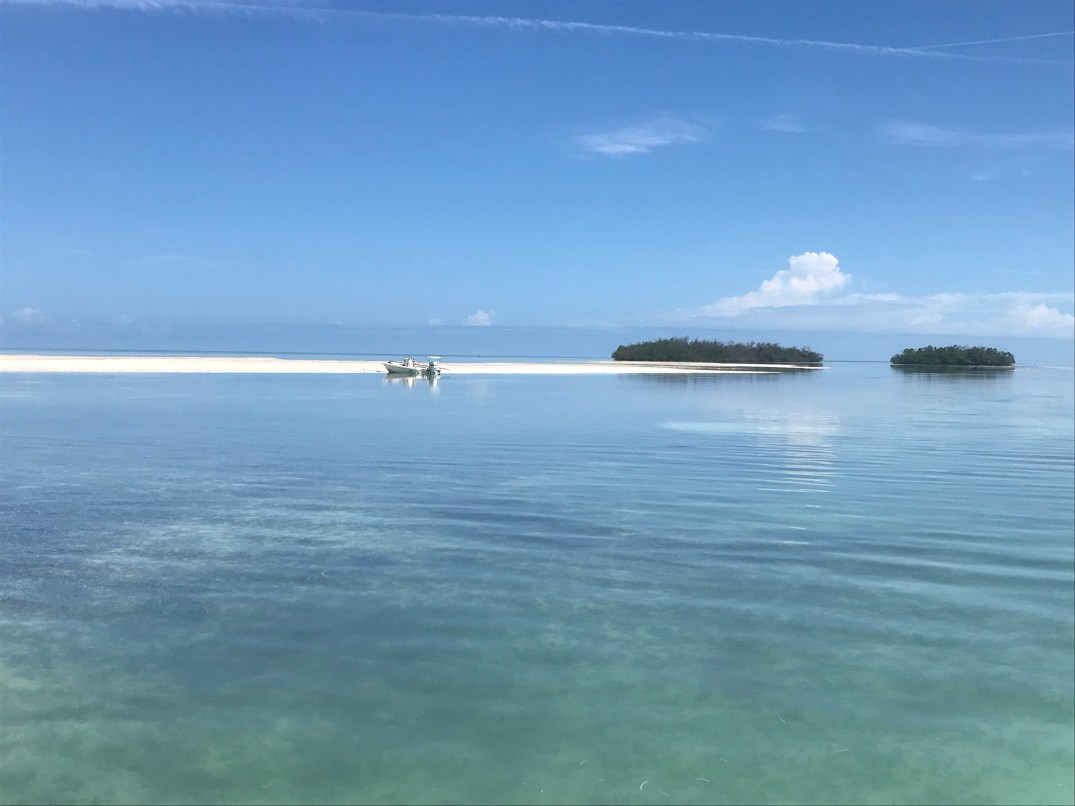


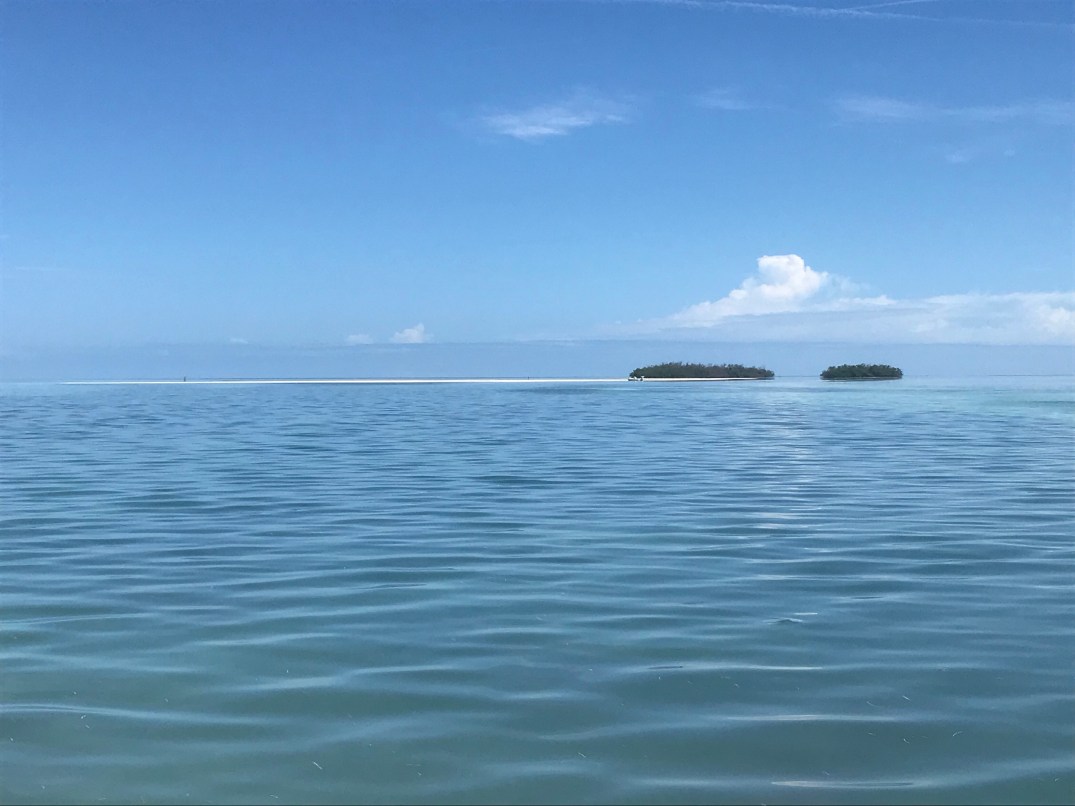


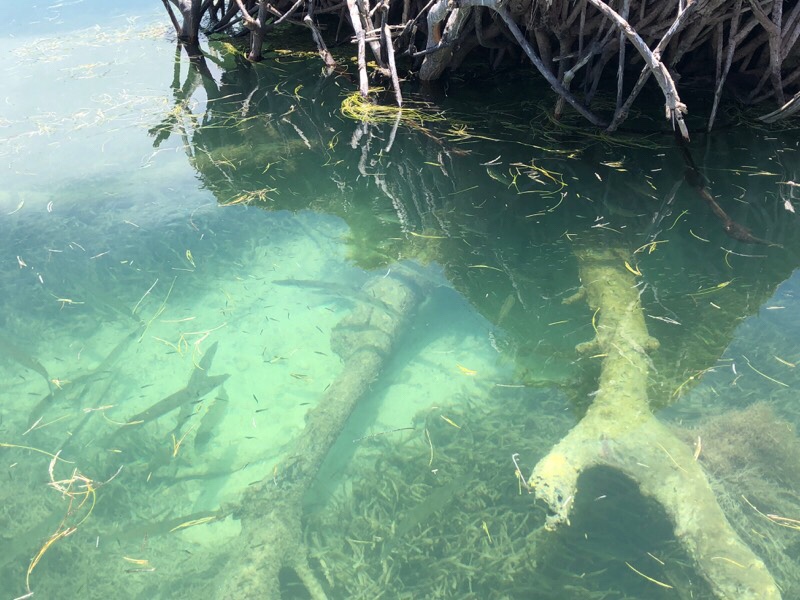


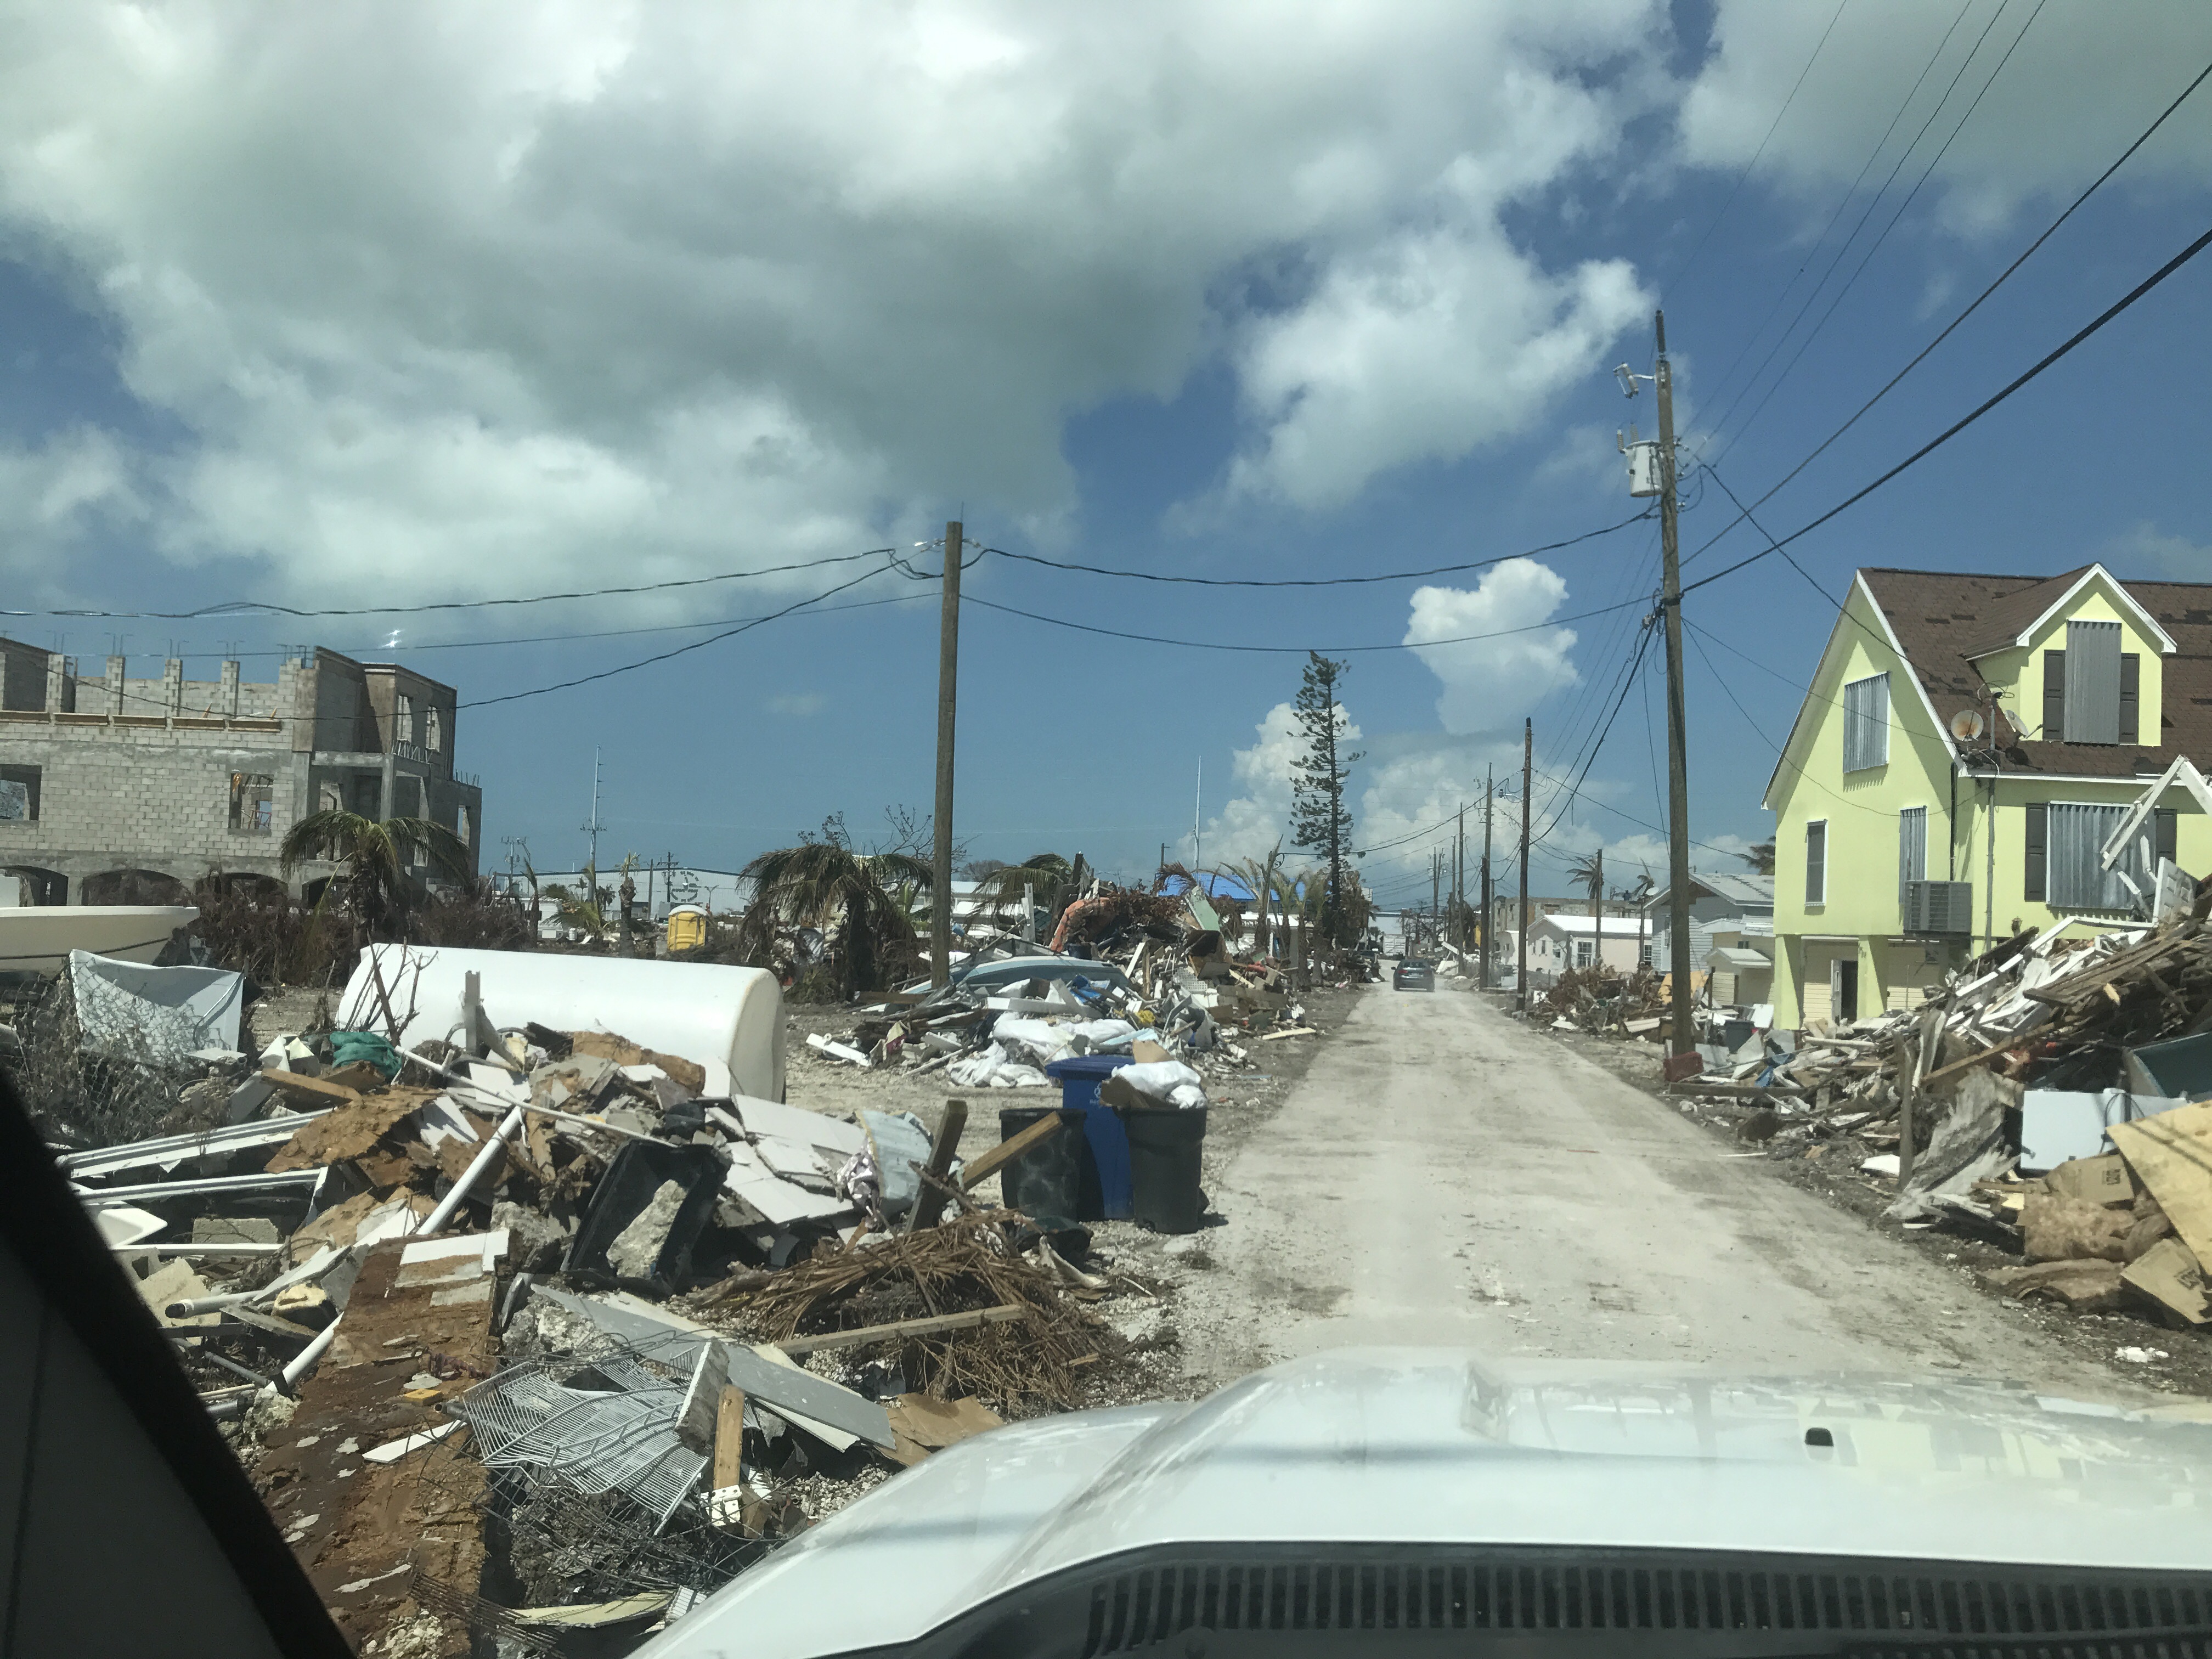
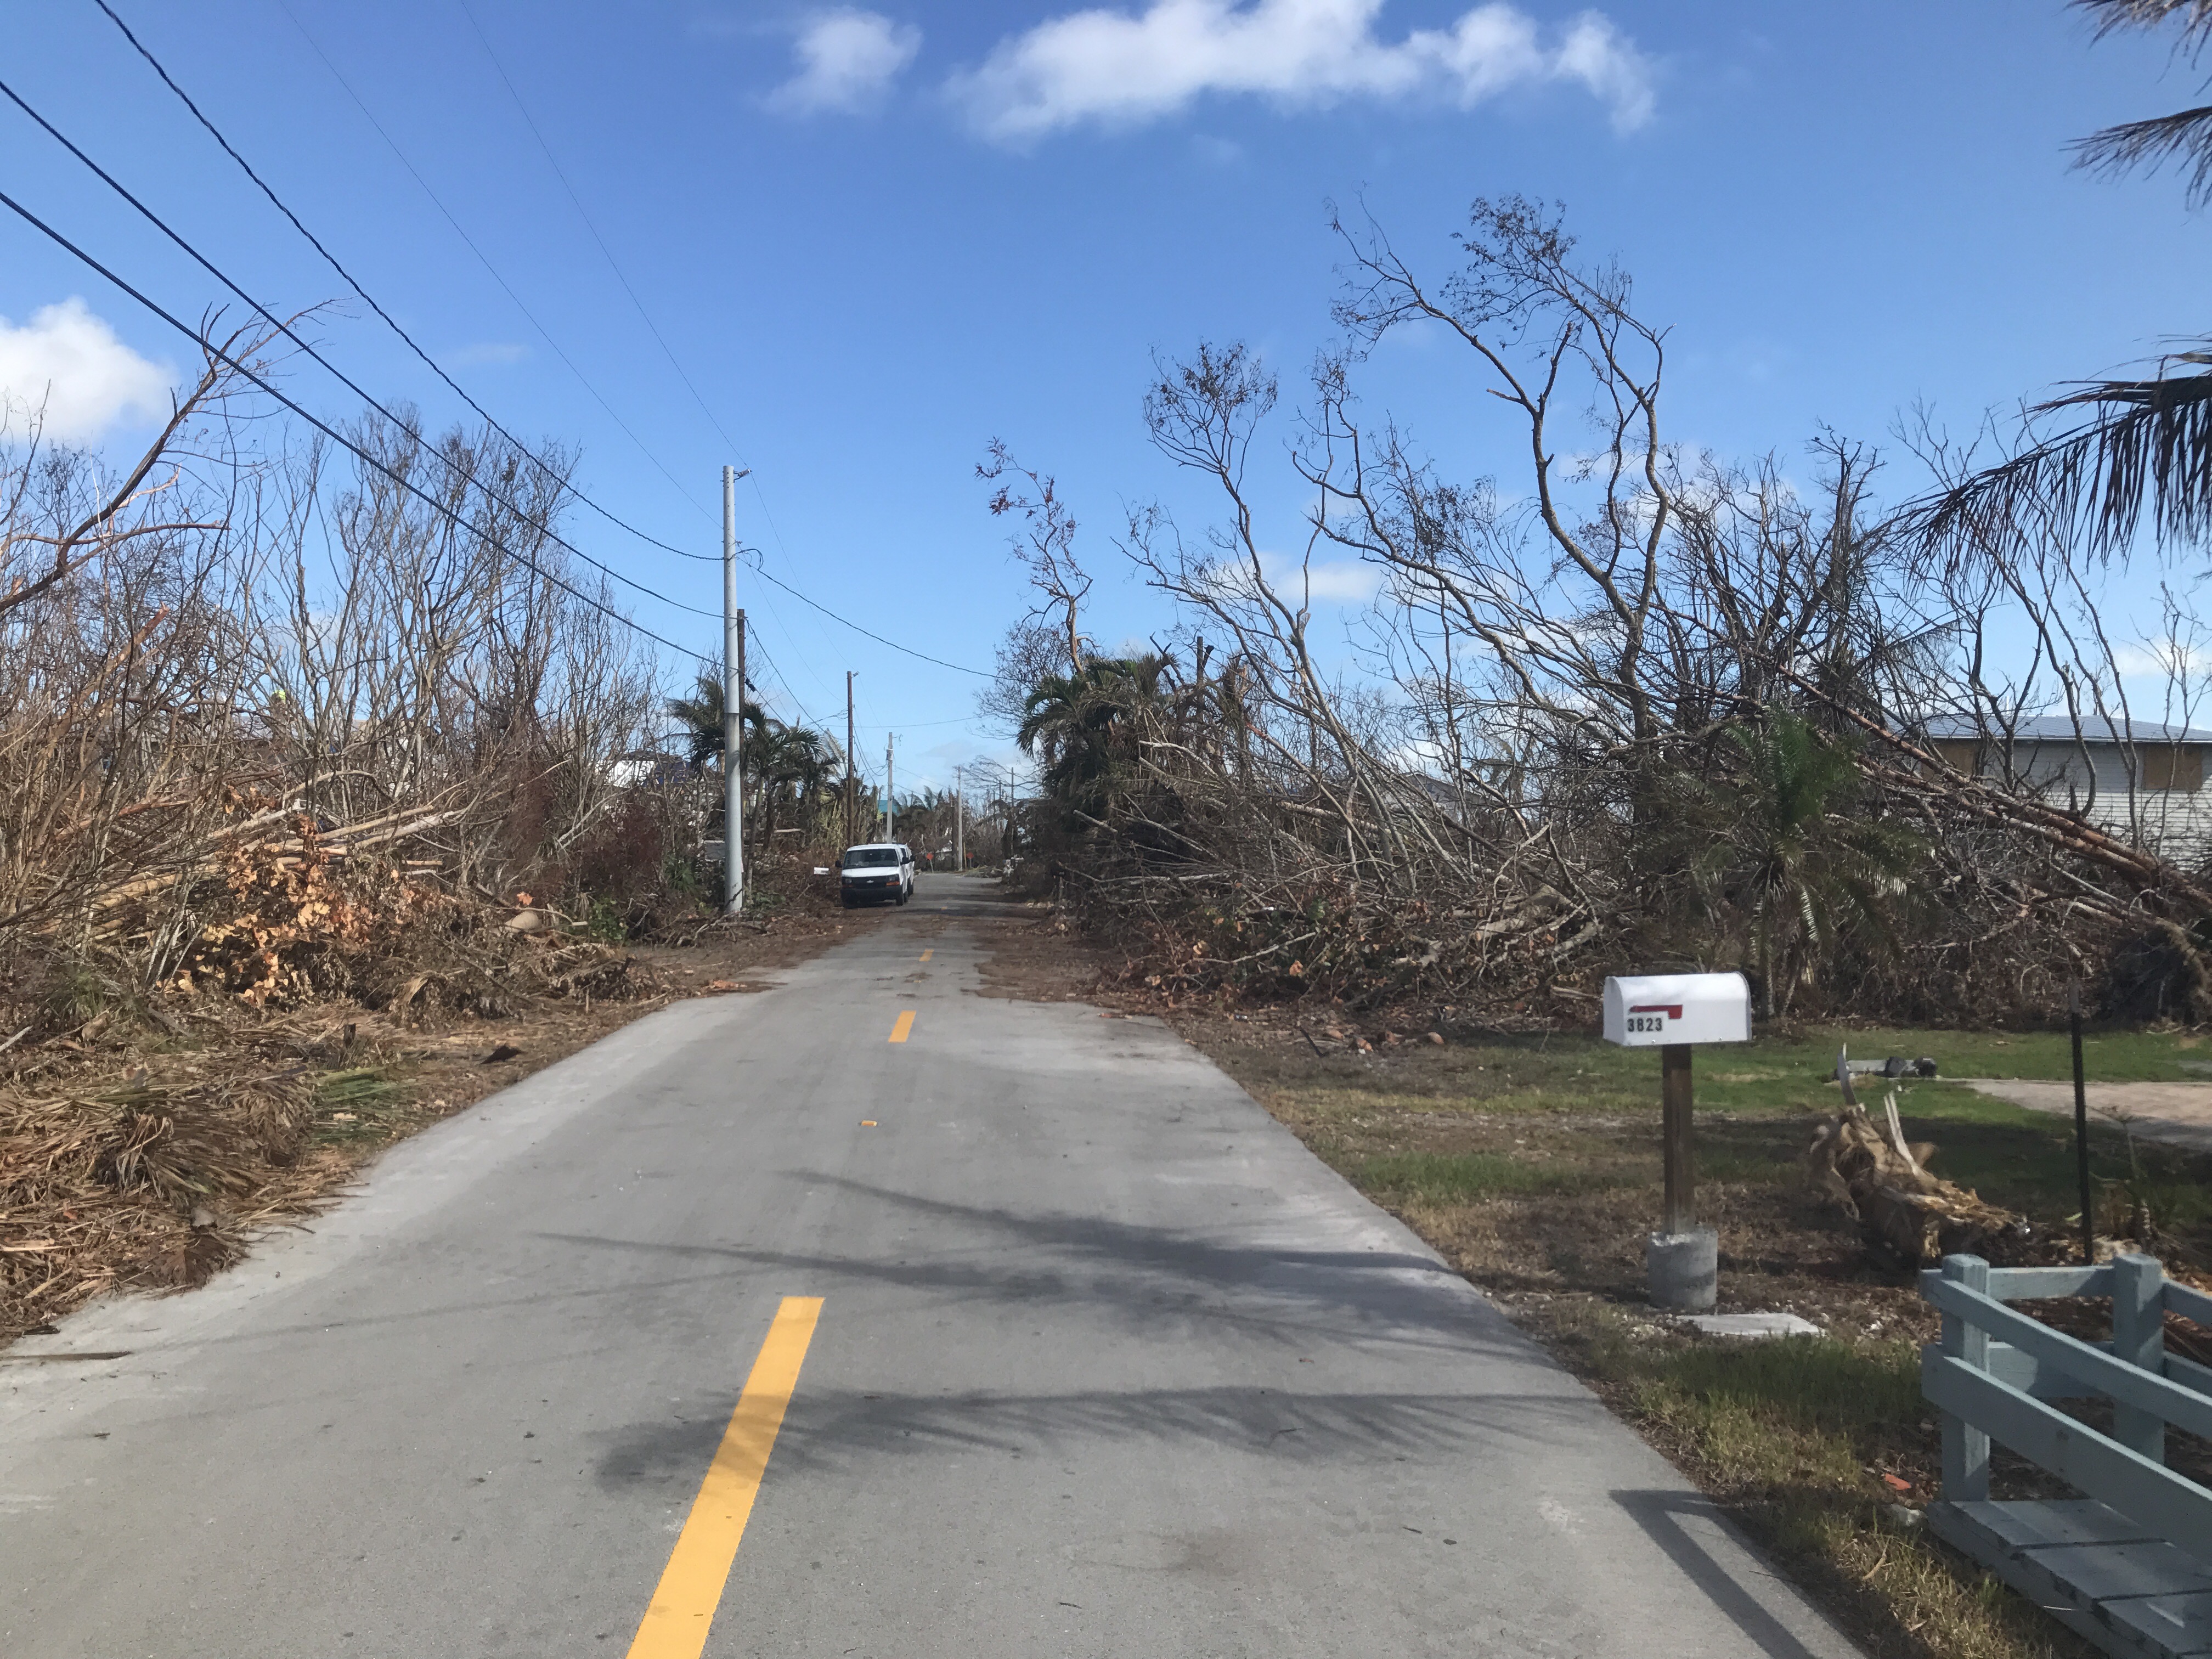
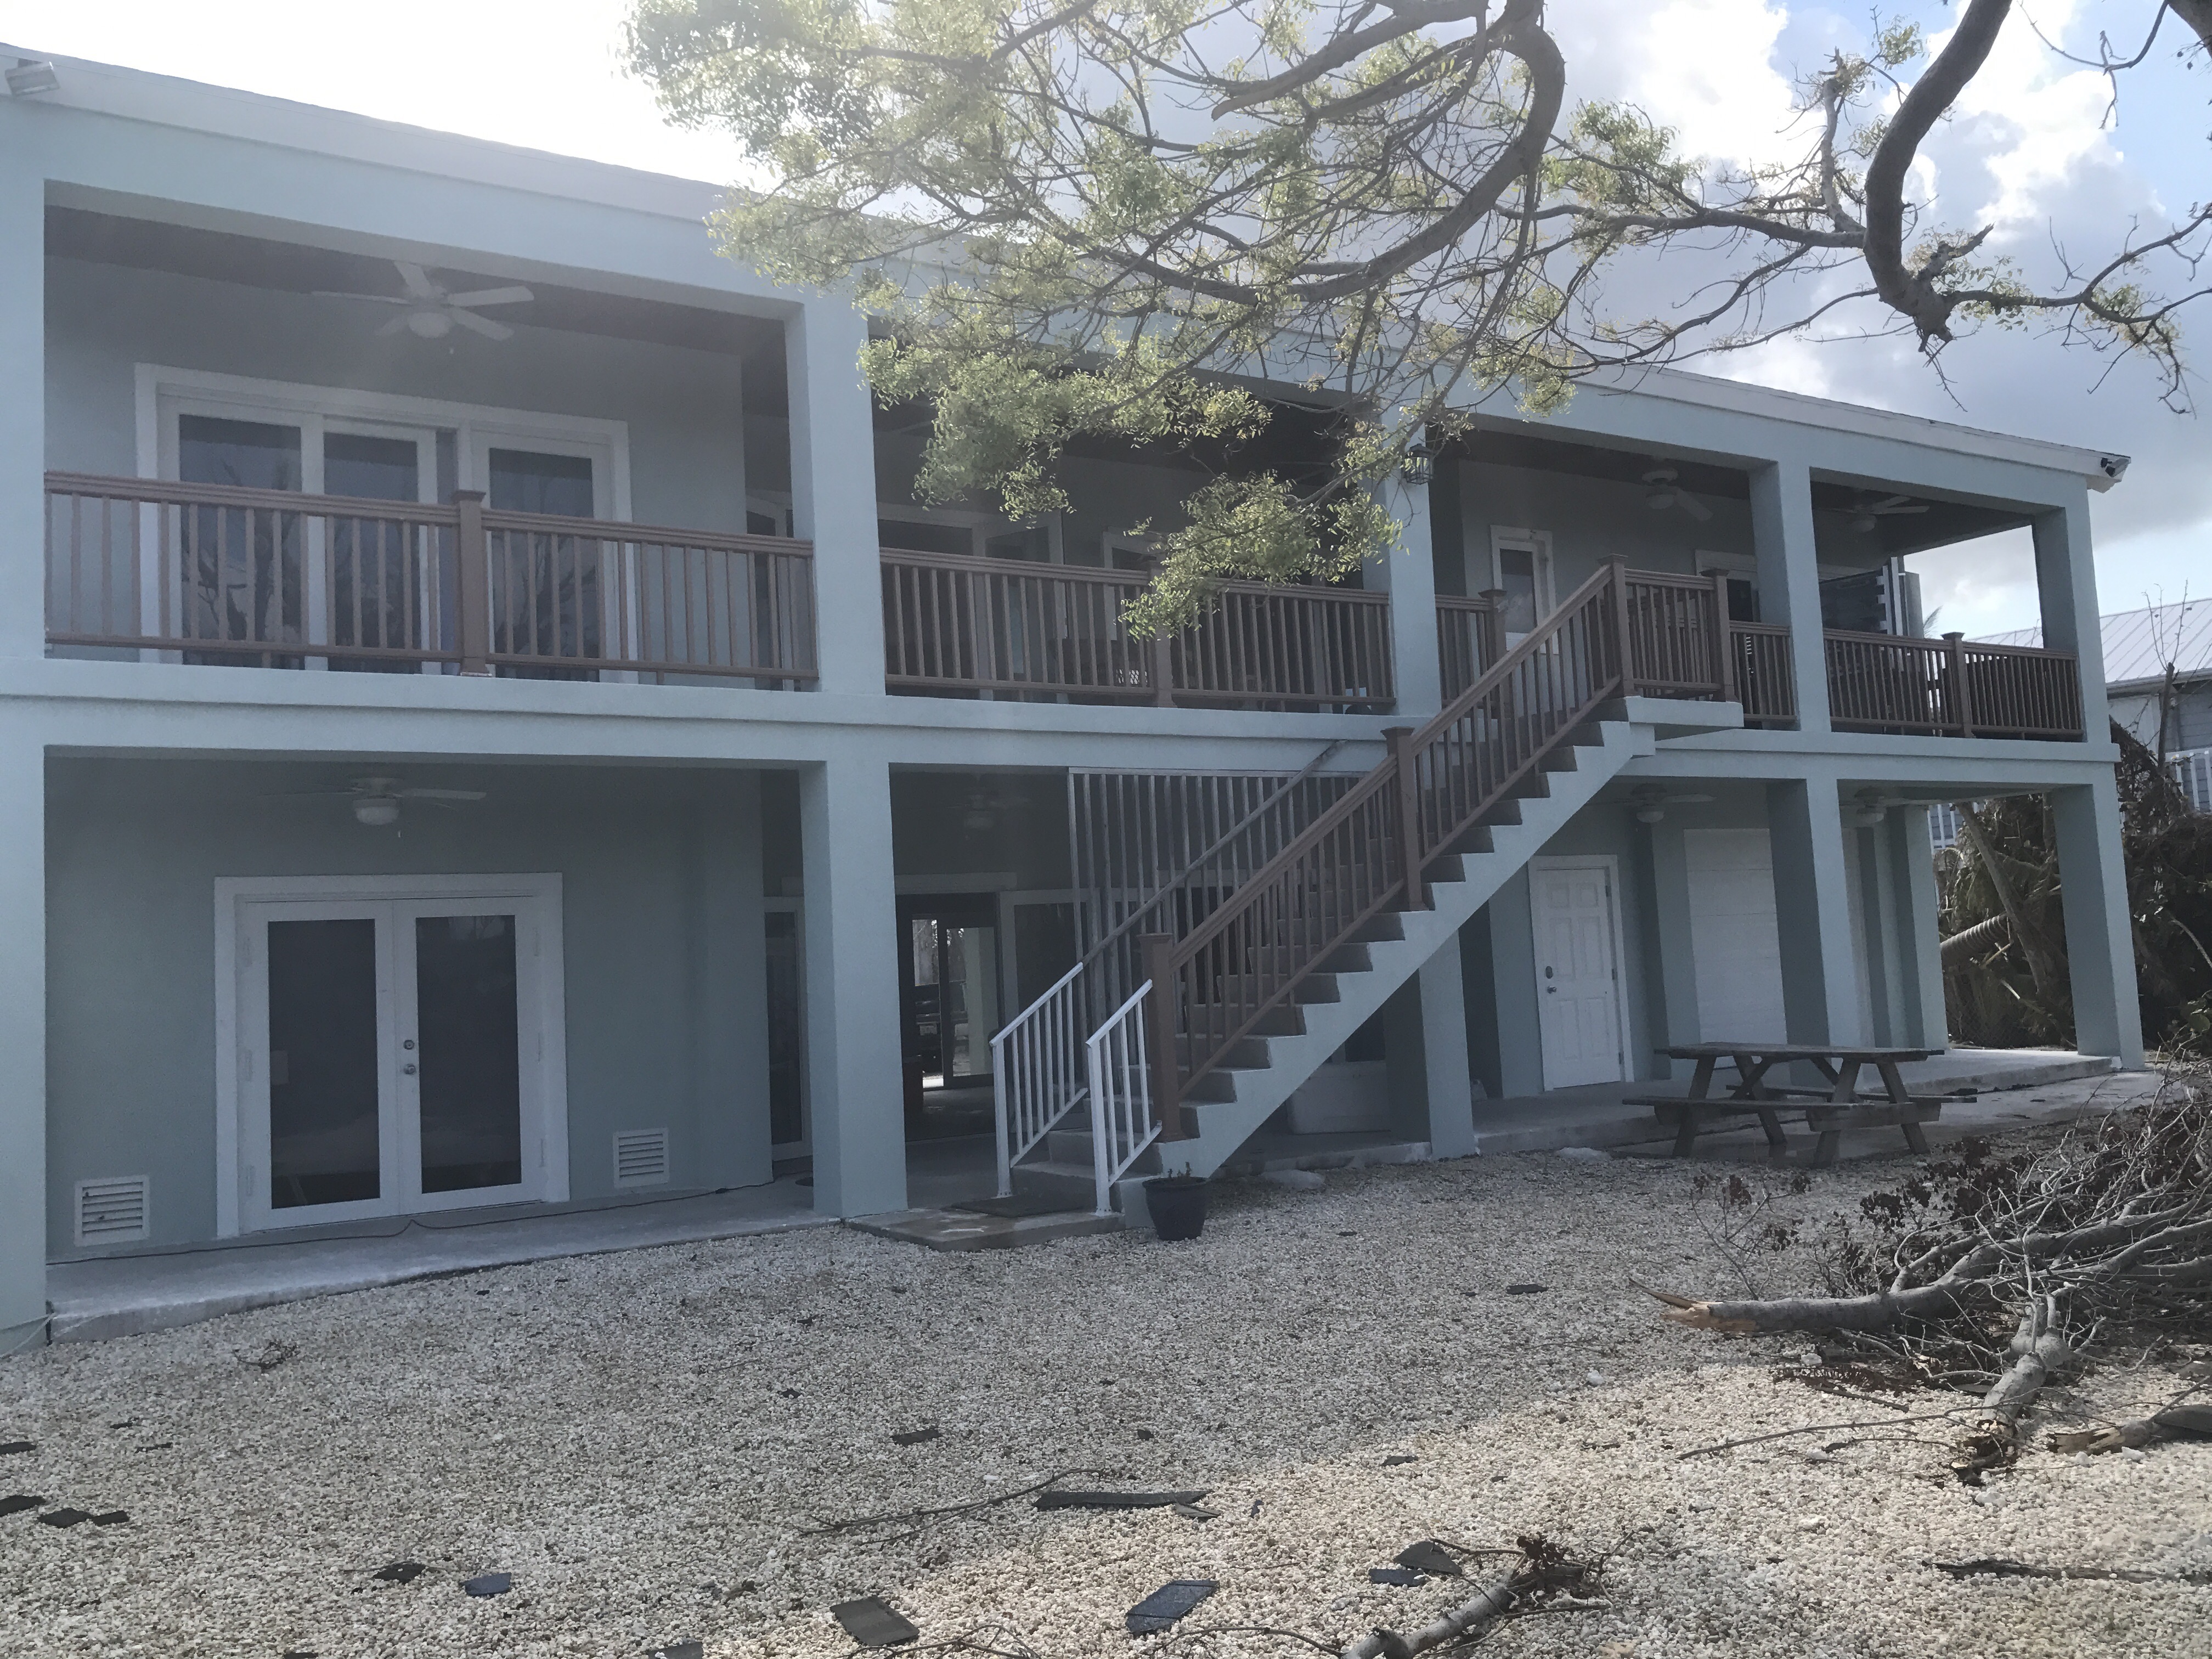
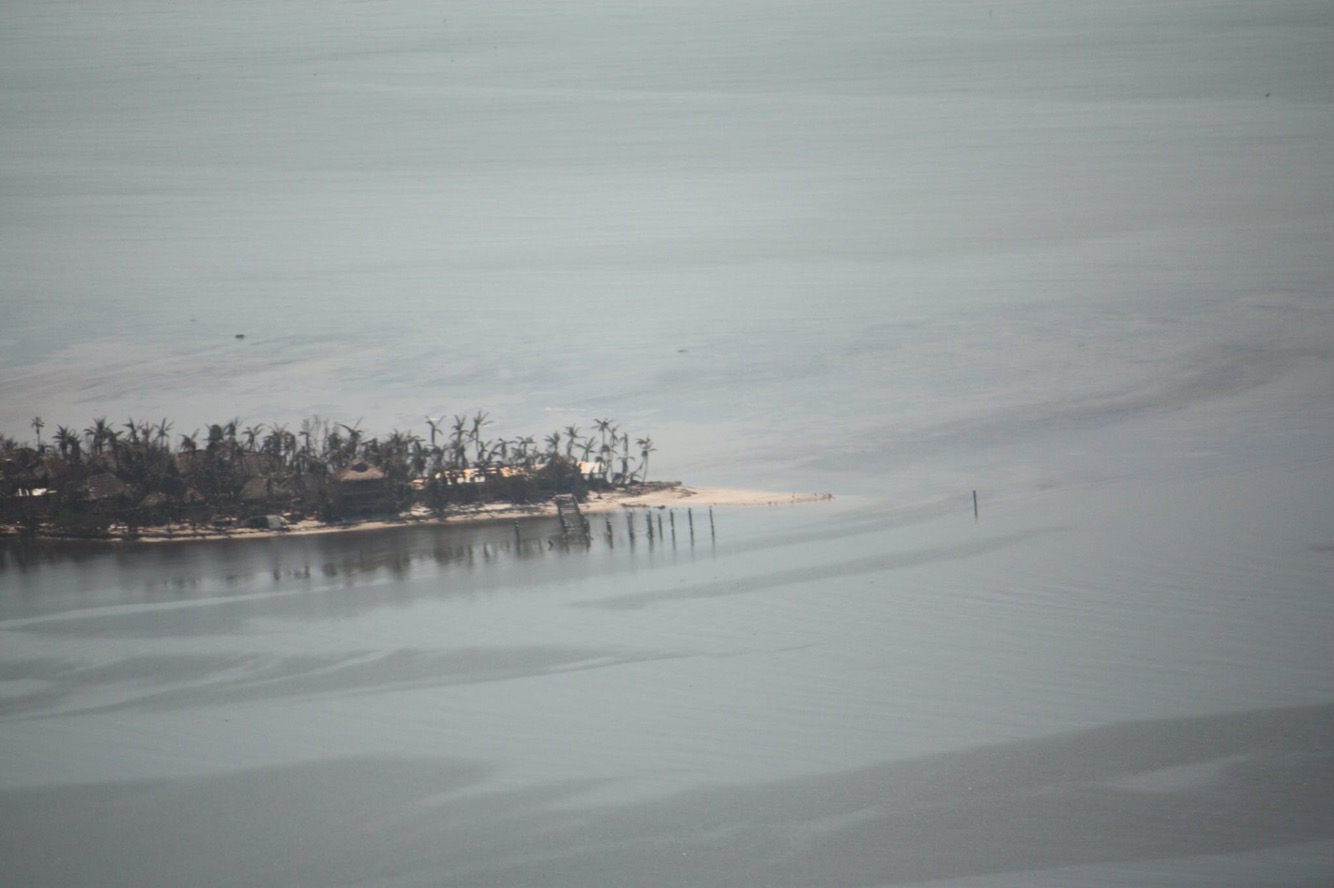
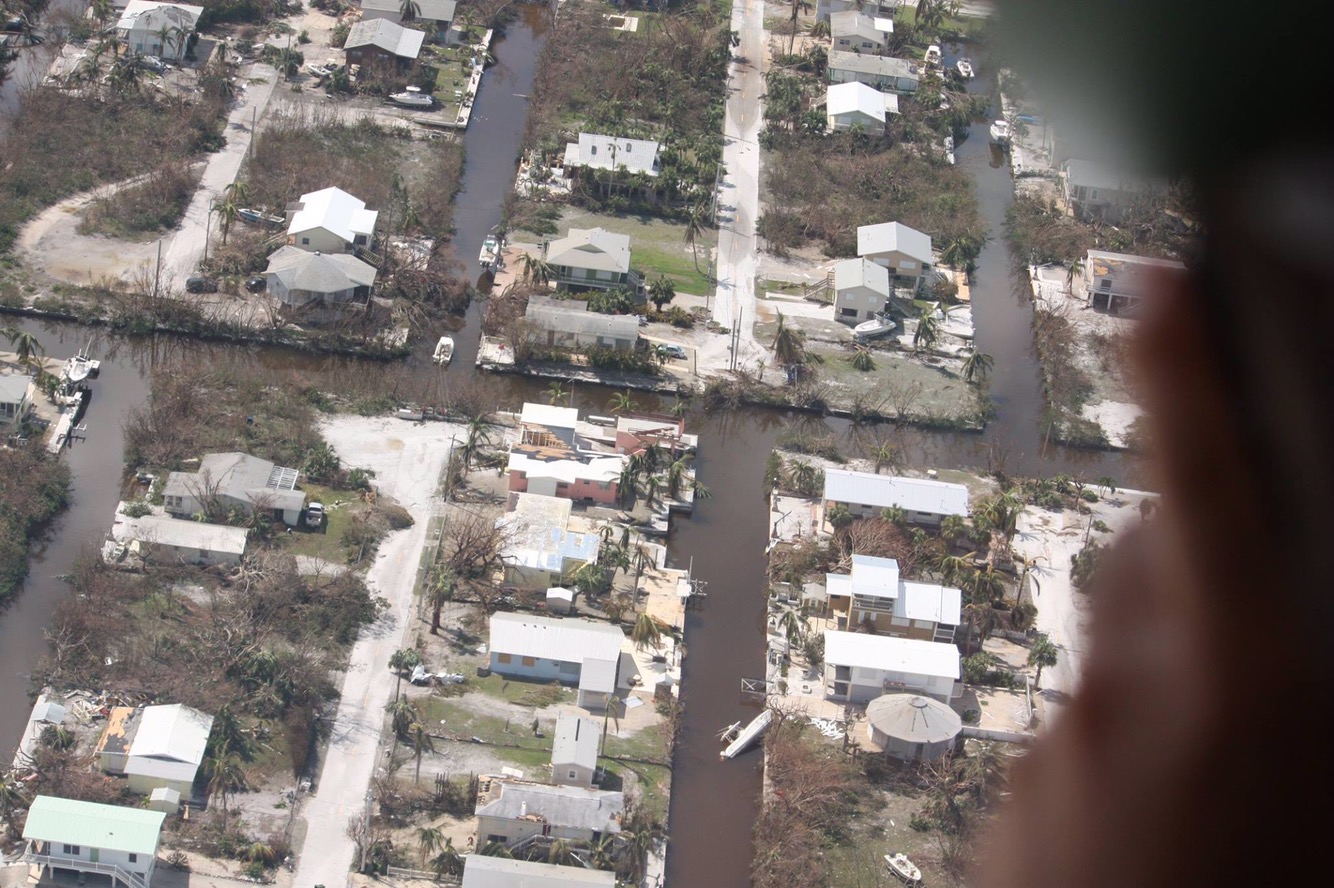
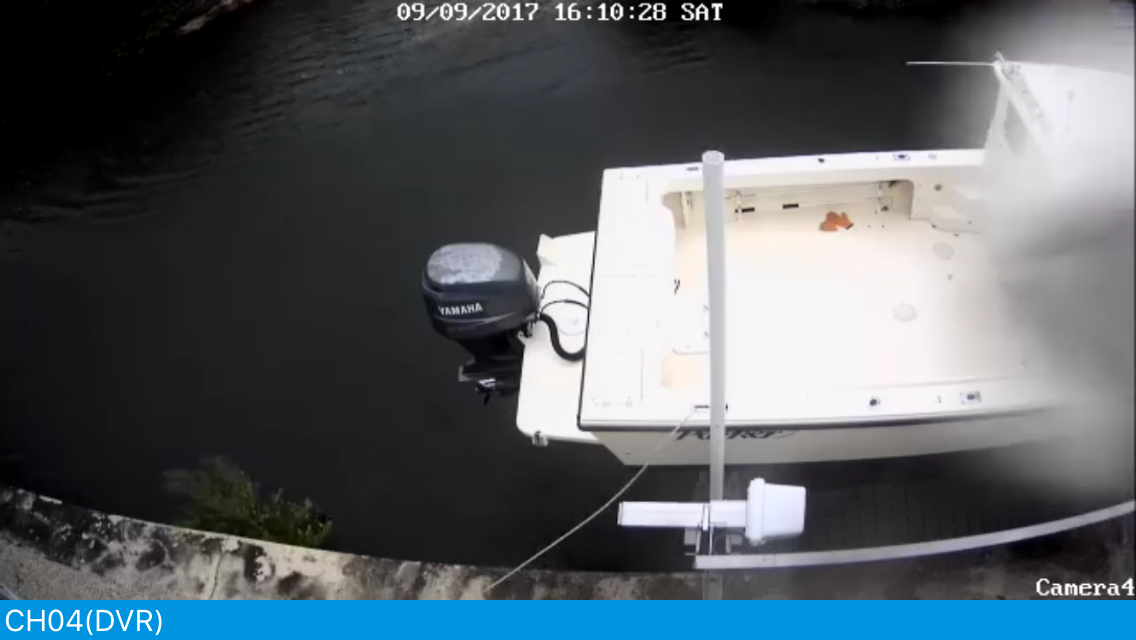
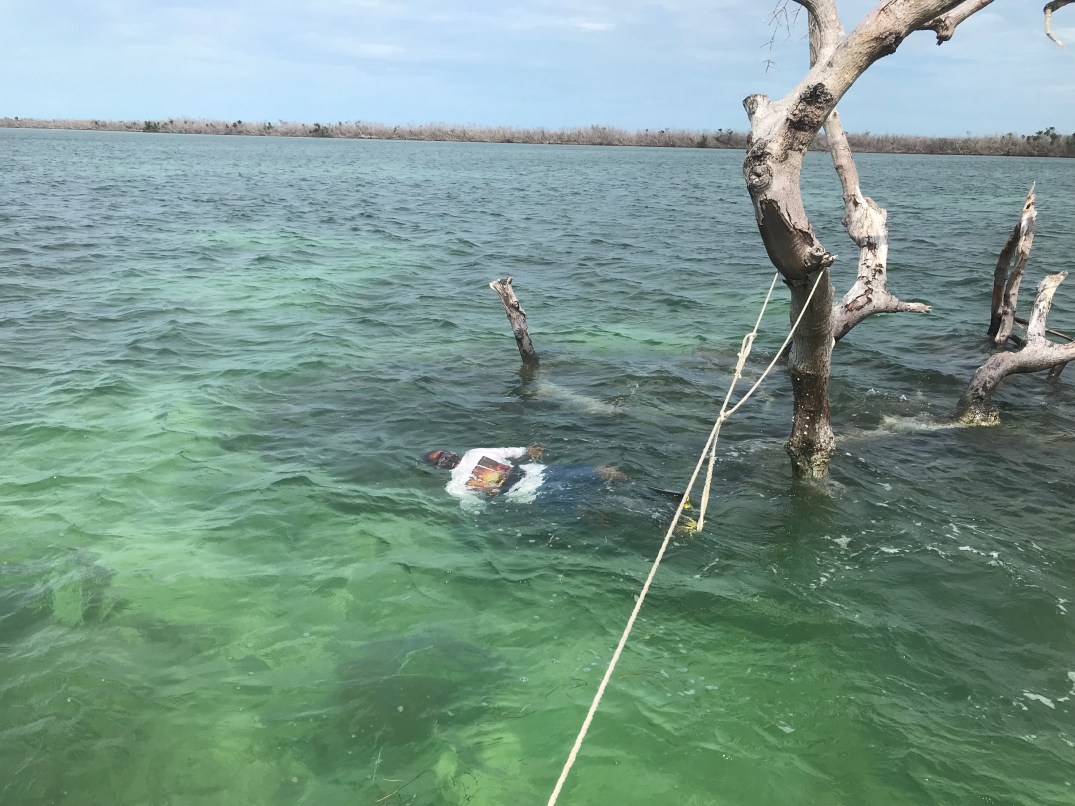
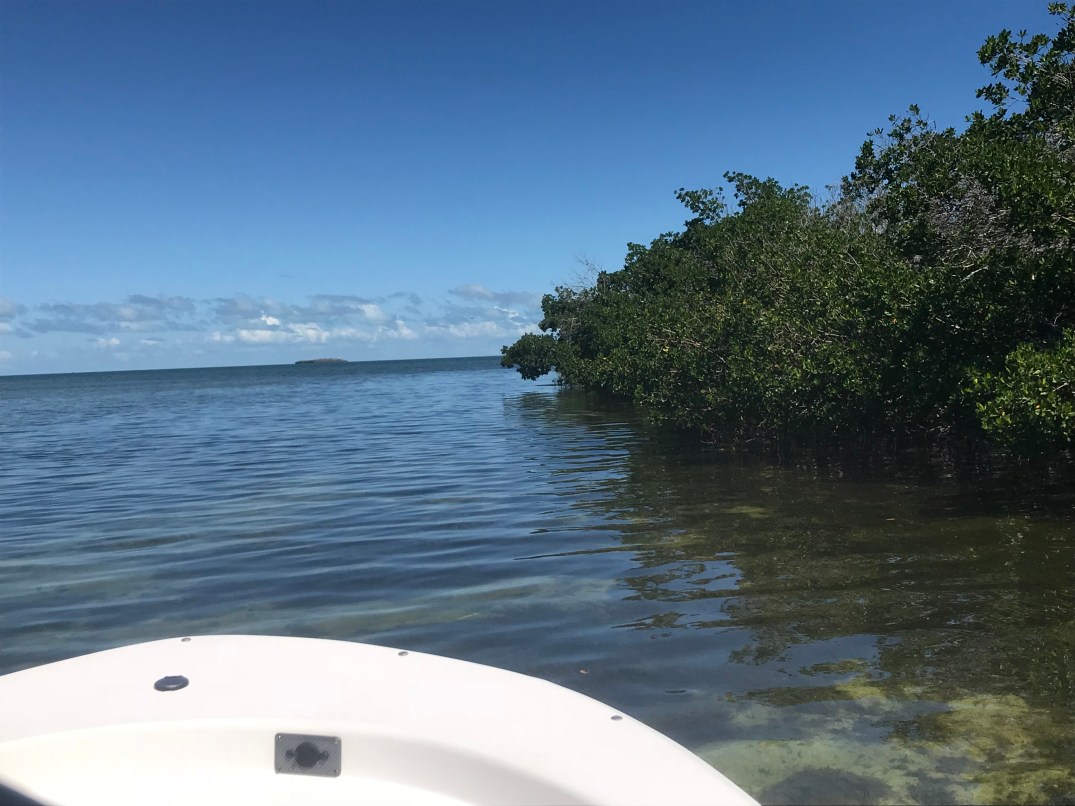
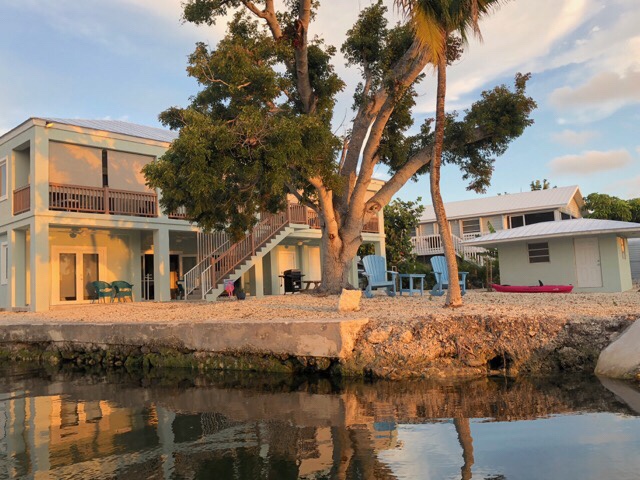
 that tree is killer!


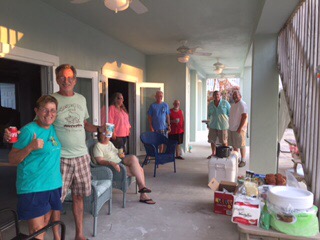
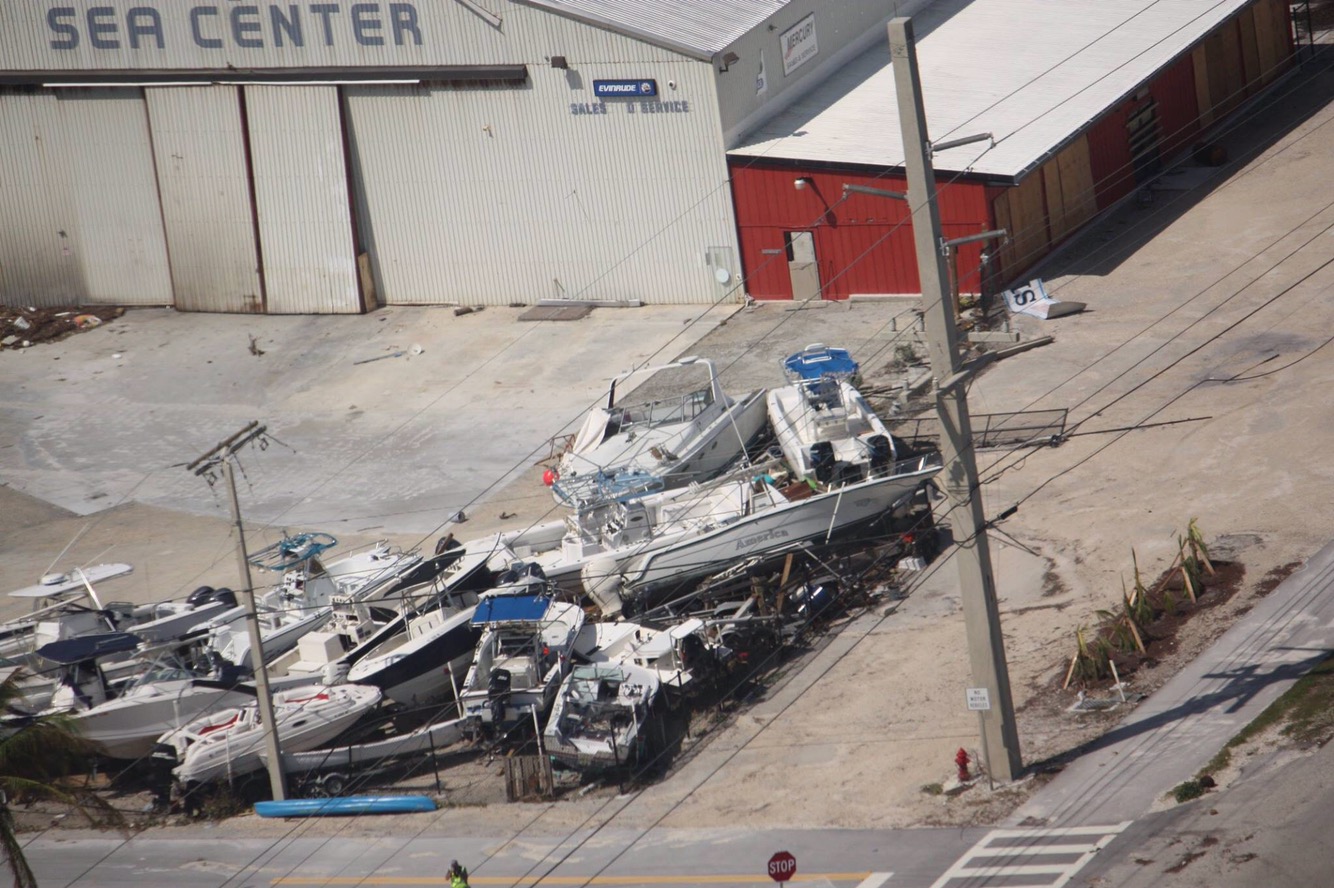
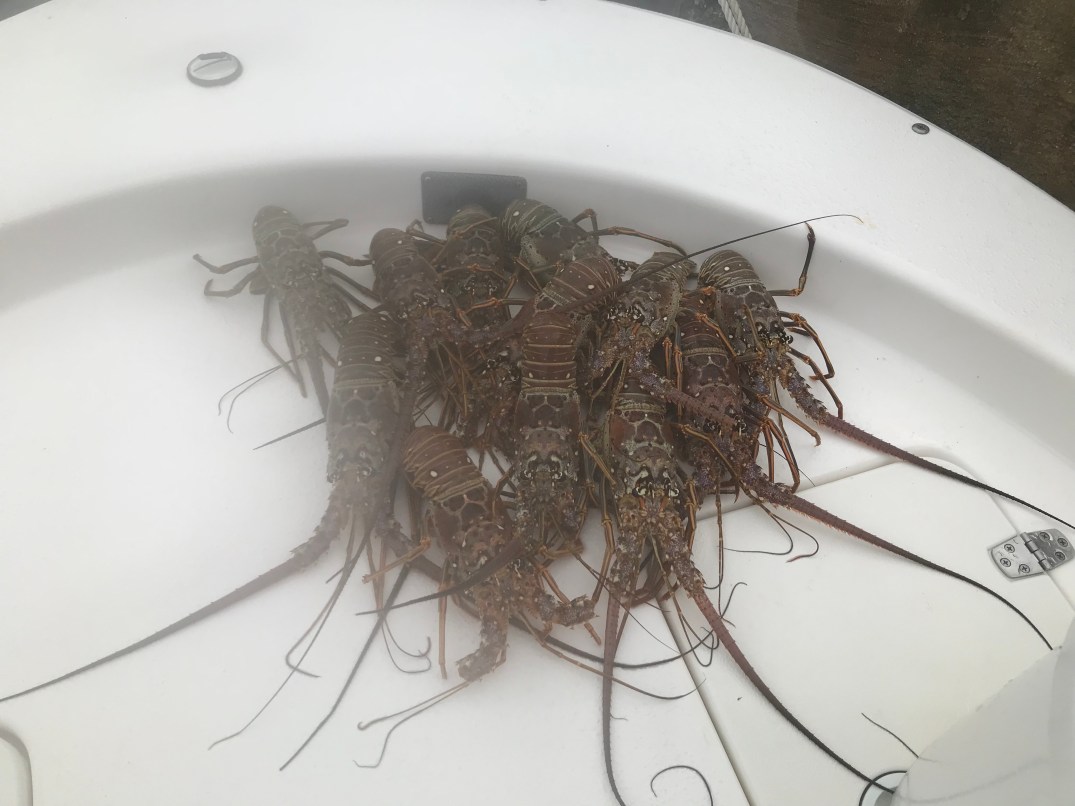
 As you can see, open for business and moving forward!