Last update I had the fuel tank project through the major construction phase, and I sealed it up good so Robin and I could take our EPIC road trip to see Lilly, Kyle and Laura.

Now I am back at it, and spent the last month “making her pretty!”.
To do so, means sanding! Lots and lots of sanding.

Next up, it was fairing time. Fairing is a 2 part compound, kind of like bondo for the marine environment. I used it for leveling the floor and fiberglass seams.

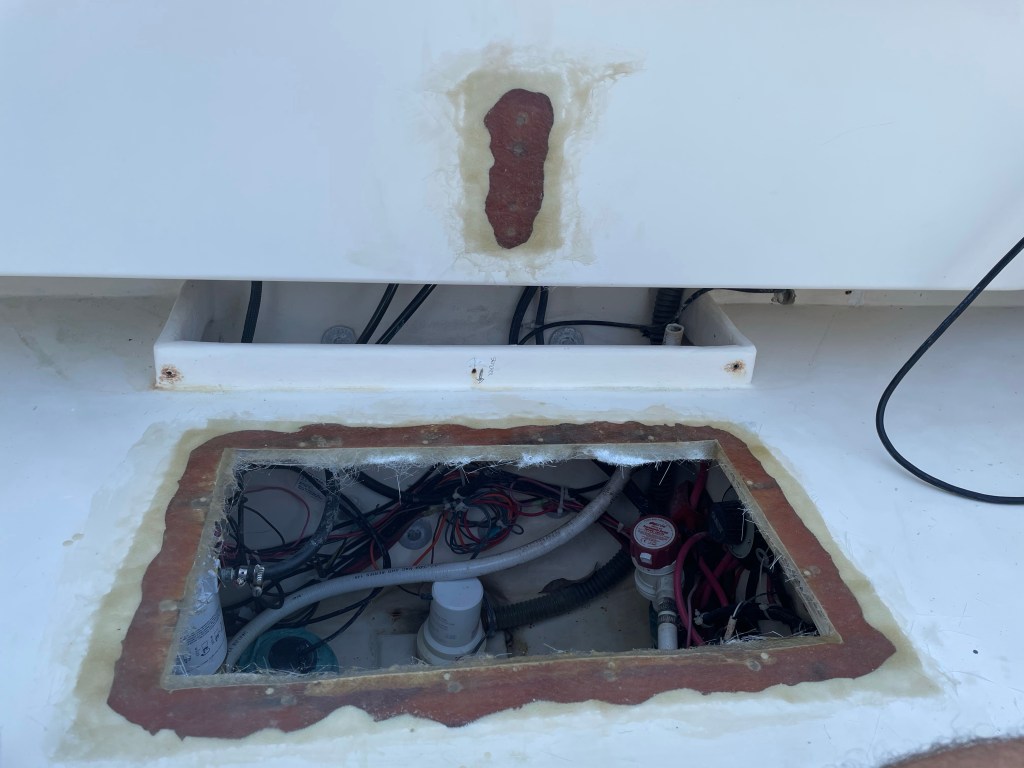
Since I had “the patient open” I went ahead and ground down around hatches and deck plates, filled screw holes and rebuilt with resin and chopped strand matt.
Fairing is another case of put product on and then sand it back off. I went around 3 iterations. Fun part was (not!) using the long sanding board. The long board is all about leveling, side to side, front to back. Wax on wax off, sand the floor left sand the floor right. That bad boy about broke my back and shoulders!

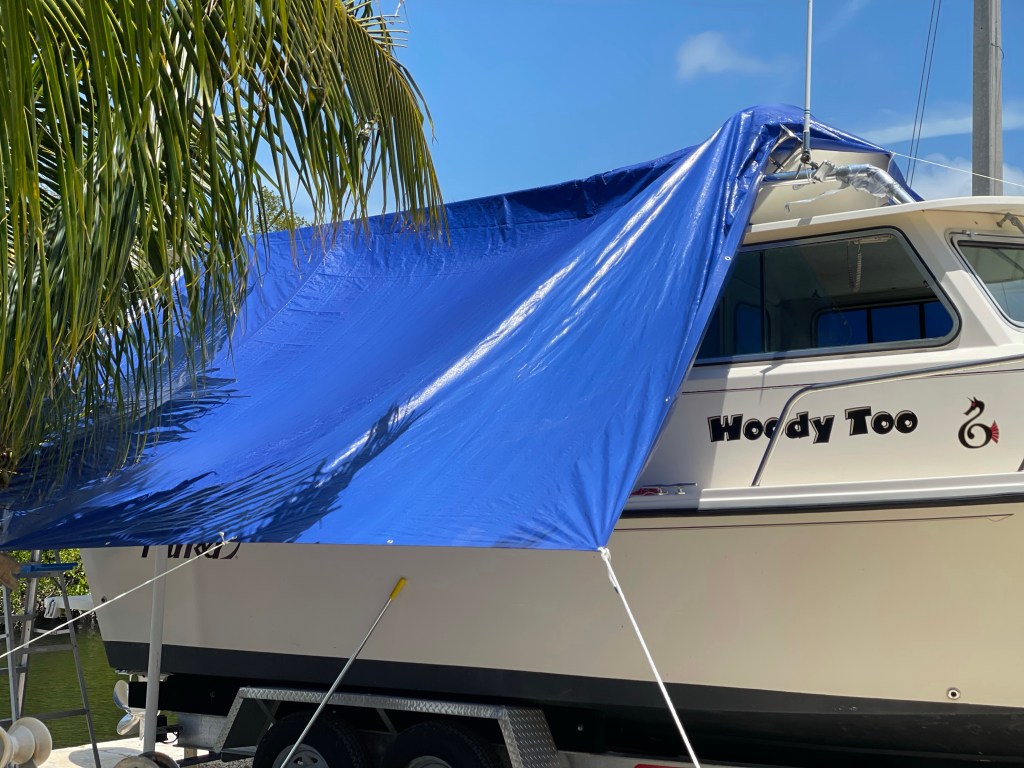
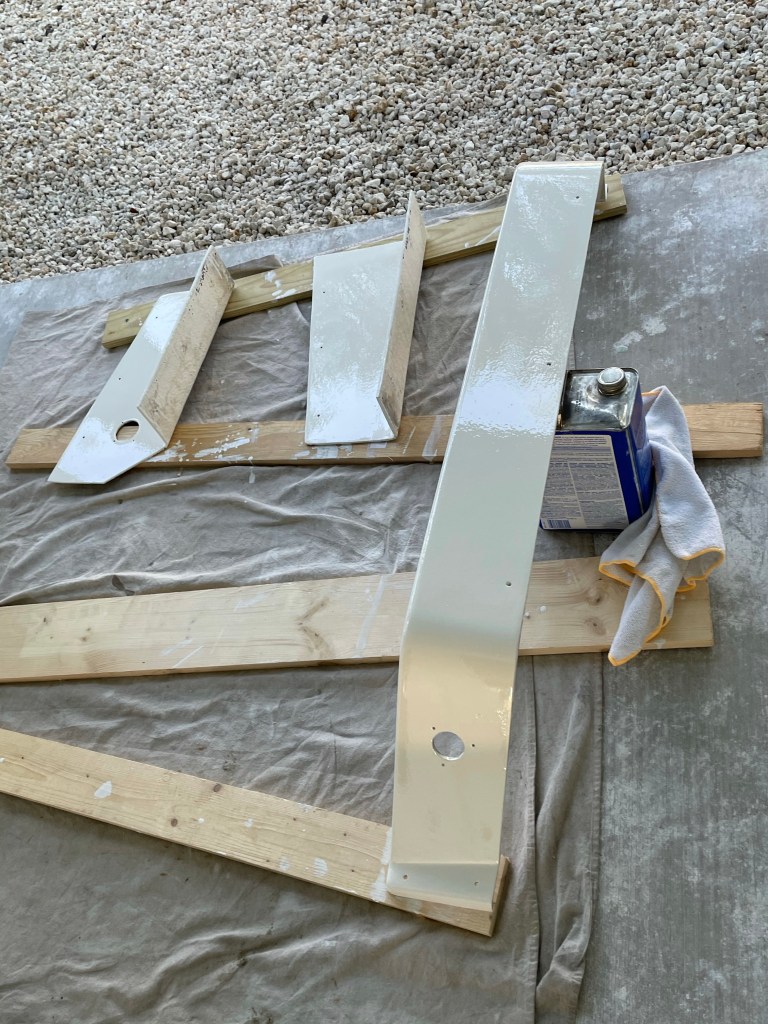
Finally, I called the heavy work done, and it was time to start painting. So I built my “paint booth” using a blue tarp supported by some 2×4’s and began the process.
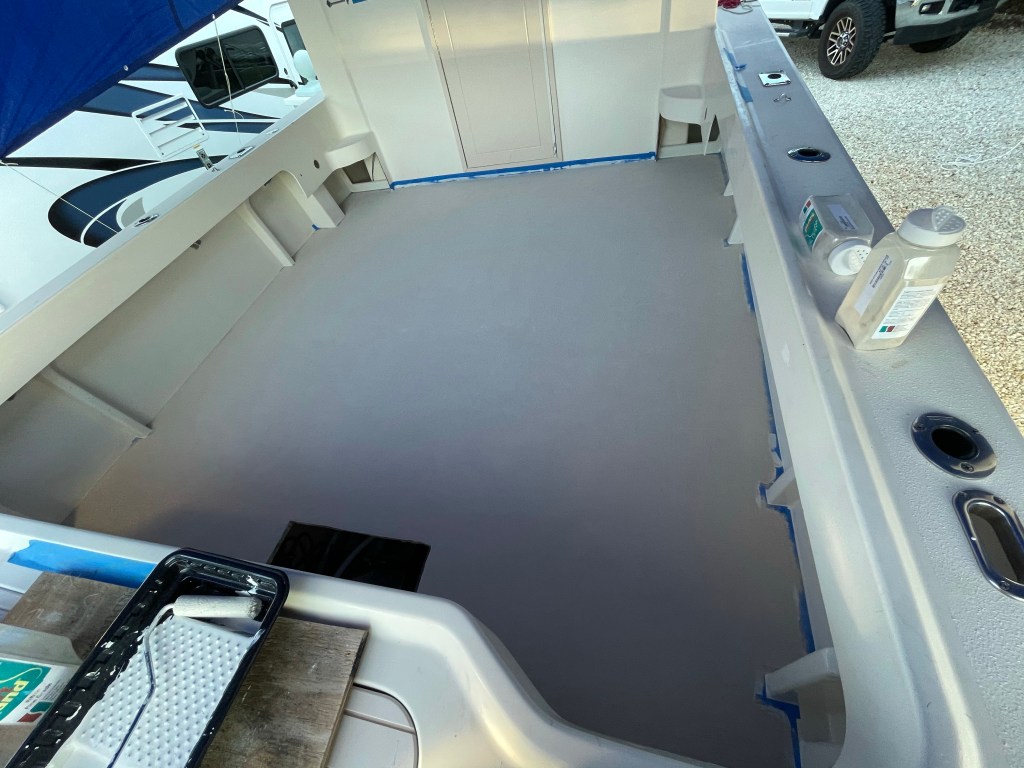
I am using AlexSeal painting system which is composed of primers and topcoat paints, hardners, and thinners. It is a bit like a science experiment, careful mixing of the products, lots of coats within specific timeframes. It all starts with … sanding … every surface front to back with 180 grit, vacuum it up, and clean with solvent. Then, three coats of primer looked like this ….

Followed by another round of sanding at 380 grit, make a couple more repairs and touch up. Then comes the top coats. My overall plan was to repaint from the gunnels down to help with color matching.
Also I applied a non-skid coat to the deck, so I started the painting process working under the gunnels down to a 6 inch wide coat on the deck. More to follow there.


This paint is awesome, nothing like painting a house. It is about the thickness of water and goes on very thin, requiring multiple coats. The paint system is designed around application by rollers, I used little 4 inch mohair ones. There is also a special additive that really flows out the topcoat and it is near spray quality. Crazy …
Next came the non-skid. I chose to use SoftSand for the grit, it is a fine grained rubber based product, and applied it using a broadcast method where I rolled out paint, then sprinkling the softsand over top.
This process went ok, but have to admit I was disappointed – the operator (yours truly) did not do a good job with consistency. I had to paint and spread the product in sections so I could reach it, and that is where I had coverage issues. I also taped off non-skid gutters around the outside of the deck, made a nice transition and clean lines.

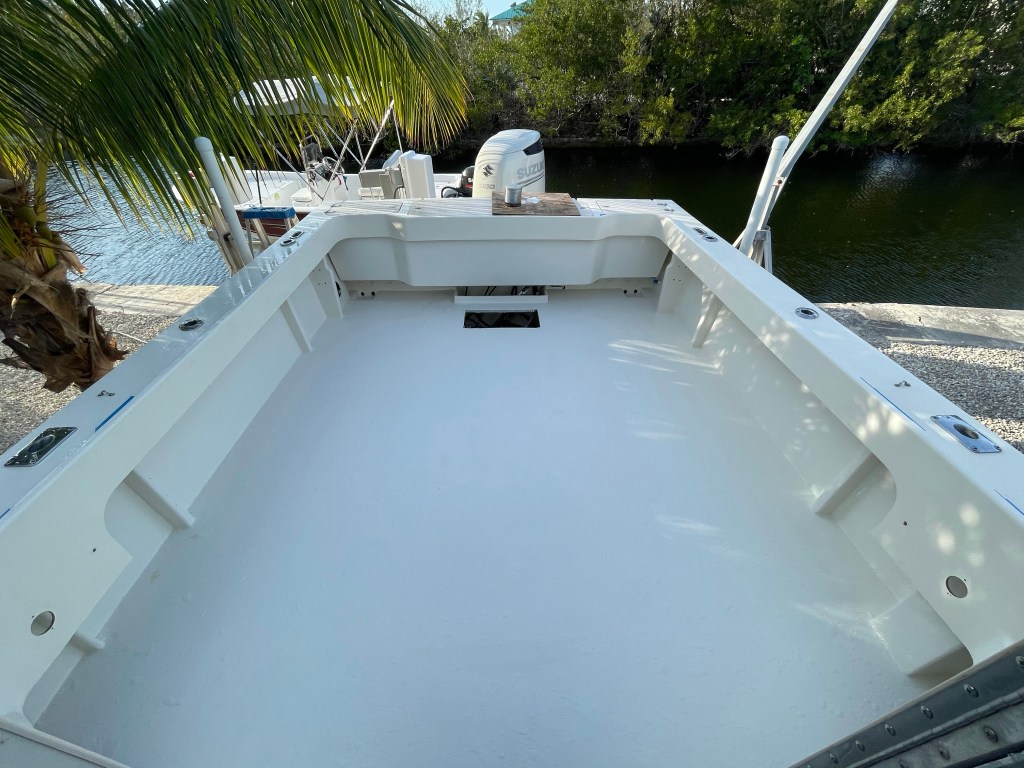
Once dry, I swept up the excess SoftSand, and then made 2 additional topcoats to lock the non-skid in place. Pulled the tape … and call it done!

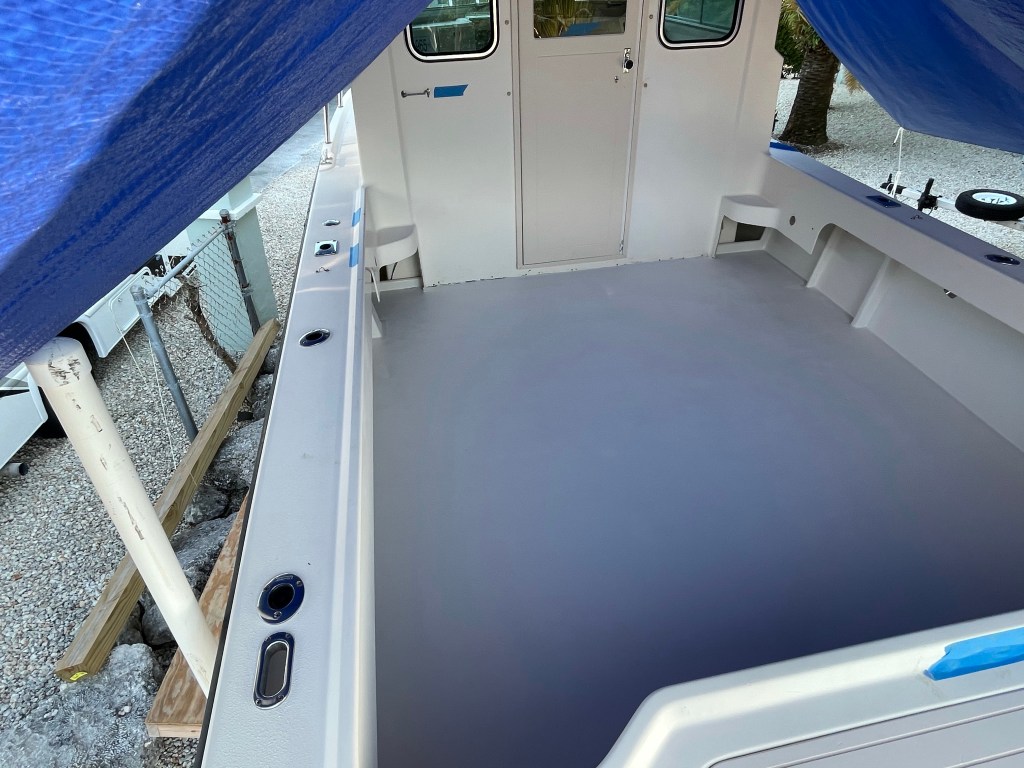
End result, pretty much showroom quality, I am extremely pleased with the end result. So now it is time to put it back together and get it back in the water.
Launch will be next weekend!? Grouper season opened May 1st, and I hear big mahi are offshore. Time to get back to fishing!
Last minute edit … one more picture. Looks good in the daylight!